How to Manage Google autocomplete predictions
Google Autocomplete is a feature that predicts what you're searching for based on your previous searches and the popularity of certain terms. But sometimes, the predictions may not be what you want. ! In this video, we're going to show you how to manage your Google Autocomplete predictions. Follow the steps as shown in this video.
1. Open your web browser and navigate to Google.com.
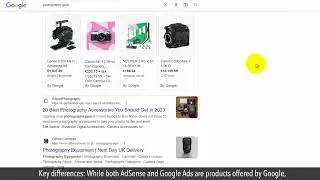
2. In the search bar, start typing the keyword you would like to search for.
3. As you type, Google will display a list of autocomplete predictions. These predictions are based on your search history, the popularity of the search terms, and other factors.
4. If you don't want Google to display Autocomplete predictions, you can disable this feature in your Google Account settings.
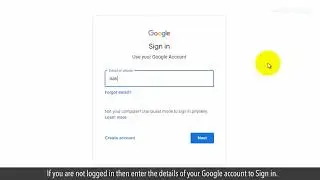
5. To do this, click on the Sign in button at the top right.
6. Enter your email, and click on the Next button.
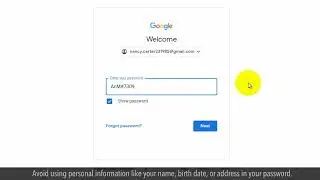
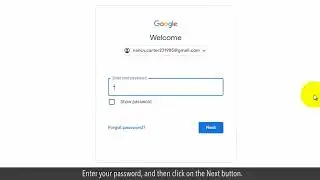
7. Enter your password, and then click on the Next button.
8. If the 2-step verification feature is ON then click on an option to receive the verification code.
9. Enter your verification code, and click on the Next button.
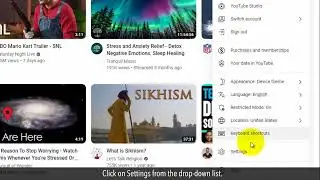
10. After logging in, click on your profile icon at the top right.
11. Click on Manage your Google Account.
12. Click on Data & privacy.
13. Scroll down the page to the History settings section.
14. Toggle off the "Web & App Activity" switch.
15. In the Activity controls page, click on the Turn-off button in the Web & App Activity.
16. In the pop-up window, click on the Pause button.
17. Click on Choose an auto-delete option.
18. Select the radio button of Auto-delete activity older than, and select a time period from the drop-down list.
19. Click on the Next button.
20. In the confirmation pop-up, click on the Confirm button and then click on the Got it button.
By following these steps, you can easily manage your Google Autocomplete predictions.
Please do not forget to like this video.
Make sure to subscribe to this channel, for more upcoming tech-support videos.
Thank you for watching this video.


