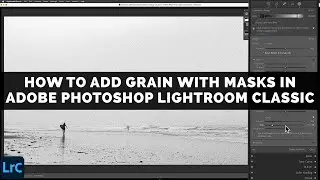
How To ADD GRAIN With MASKS In Adobe Photoshop LIGHTROOM CLASSIC
The latest update to Adobe Photoshop Lightroom Classic includes an interesting new feature that allows us to add targeted GRAIN into our images using any of Lightroom’s robust Masking tools. Adding grain, with precision, to specific parts of your image is a great way to give your black and white digital photographs a more realistic film-like appearance.
Thanks to Lightroom’s Masking tools, we can control where our simulated film grain gets applied throughout our images. This enhancement to Adobe Photoshop Lightroom Classic’s Masking capabilities is especially helpful when you are working on a full-color digital image that has been converted into a black and white.
Grain has long been appreciated in black and white film photography for its ability to add texture and character to an image. By applying different amounts of grain to specific regions, you can draw your viewer’s attention towards specific elements in your image, such as the sky in a landscape photograph, and enhance that region’s visual interest.
So, embrace the power of grain and take your black and white photography to the next level thanks to this small masking update!
Chapters:
0:00 Introduction
0:29 Add Grain with Mask in Lightroom Classic
4:20 Realistic Film Grain with a Luminance Mask
7:38 Conclusion
------------
Learn Adobe Photoshop Lightroom Classic, Adobe Lightroom (Cloud-Based) Adobe Lightroom for Mobile, or Snapseed from Google with our complete video training courses at http://www.focusphotoschool.com.
FocusPhotoSchool.com subscribers receive unlimited access to hundreds of in-depth video tutorials from Adobe Certified Lightroom / Photoshop Expert David Marx.
Visit our website today to take your photography to the next level!