How To Change Default Project In DigitalOcean
In this video, I will show you how to set a new default project in DigitalOcean. By default, when you first create a free account with DigitalOcean, the first project is set as default. To change your default project you will need to have created more than one project. The default project always appears at the top of the projects list on the left of the DigitalOcean control panel. All resources created without a designated project will be added to your default project.
Free $200 DigitalOcean cloud credits using my referral link: https://digitalocean.pxf.io/c/1245219...
How To Create A Project And Move Existing DigitalOcean Resources Into A New Project • How To Move Existing DigitalOcean Res...
Steps To Change The Default Project In DigitalOcean:
1. Log in to your DigitalOcean account
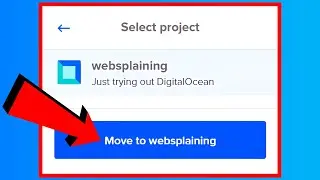
2. Identify the project that you would like to set as default from your list of projects on the left. If you don't have another project you will need to create one. Here is a step by step video of mine on how to create a DigitalOcean project • How To Move Existing DigitalOcean Res...
3. Click on that project
4. Click Settings
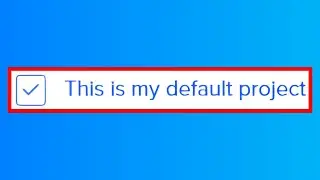
5. Checkmark the box next to "This is my default project"
6. Click Save
Congratulations, you have successfully set a new default project in DigitalOcean.
Timestamps:
0:00 - Intro & Context
0:12 - Change Default Project In DigitalOcean
2:00 - Closing & Outro
Grow your YouTube Channel with vidIQ https://vidiq.com/70s
More DigitalOcean Server Guides (Playlist) • DigitalOcean Cloud Computing Guides
Social Media
SUBSCRIBE https://www.youtube.com/@Websplaining...
Instagram (Thumbnail Collection) / websplaining
Twitter (For Newest uploads) / websplaining
Reddit (Discussions) / websplaining
Personal Website https://www.websplaining.com
#ChangeDefaultProject #DefaultProject #DigitalOcean
DONT FORGET TO LIKE, COMMENT, AND SUBSCRIBE!


