How To Download And Install Apps On Chromebook
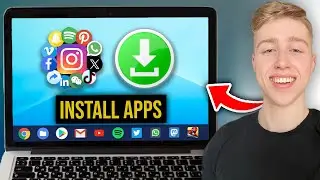
Chromebooks offer access to a wide range of apps from the Google Play Store, making them versatile for both work and play. In this tutorial, I'll show you how to download and install apps on your Chromebook in just a few simple steps.
📥 What You'll Learn:
Access Google Play Store:
Click on the Launcher icon in the bottom-left corner of your screen (looks like a circle).
Select "Play Store" from the list of apps.
Search for Apps:
In the Play Store, use the search bar at the top to find the app you want.
Type the name of the app (e.g., "Microsoft Word") and press Enter.
Install an App:
Click on the app from the search results to view its details.
Click "Install" to begin the installation process.
Review the permissions the app requires and click "Accept" to proceed.
Wait for Installation:
The app will download and install automatically. You can see the progress in the notification area.
Open Installed App:
Once the installation is complete, click "Open" to launch the app.
Alternatively, you can find the app in your Launcher for future use.
Uninstall an App:
If you want to uninstall an app, right-click on the app icon in the Launcher.
Select "Uninstall" from the menu and confirm the removal.
Install Chrome Extensions:
Chromebooks also support Chrome Extensions for added functionality.
Open Chrome and go to the Chrome Web Store.
Find an extension you want, click "Add to Chrome," then "Add extension."
Update Installed Apps:
Apps will update automatically by default, but you can manually update them.
Open the Play Store, click on the menu icon (three horizontal lines), and choose "My apps & games."
Click "Update All" to update all apps or update individual apps as needed.
🌟 Pro Tip: Enable "Google Play Protect" in the Play Store settings for added security.
Now you're ready to explore the vast library of apps available for your Chromebook, from productivity tools to games and everything in between.


