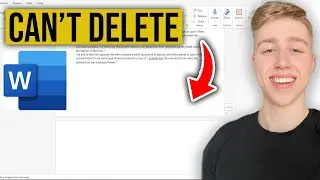
How To Delete A Blank Page In Word You Cant Delete!
Have you ever struggled with trying to delete a stubborn blank page in Microsoft Word that just won't go away? In this tutorial, I'll show you a few simple methods to remove that pesky blank page for good.
📄 What You'll Learn:
Select and Delete:
Place your cursor at the end of the content on the previous page, just before the blank page.
Press the "Delete" key on your keyboard multiple times until the blank page disappears.
Check for Hidden Characters:
Sometimes, invisible characters or formatting can cause a blank page.
Turn on the "Show/Hide" button in Word to reveal hidden characters.
Look for any extra paragraph markers (¶) or page breaks that may be causing the blank page.
Delete any unnecessary characters or formatting.
Adjust Page Breaks:
If the blank page is caused by a manual page break, you can adjust it.
Click on the "Layout" or "Page Layout" tab in Word.
Click on "Breaks" and select "Next Page" to remove the manual page break.
Adjust Margins and Spacing:
Sometimes, large margins or spacing can create a blank page.
Go to the "Layout" or "Page Layout" tab.
Adjust the margins and spacing to see if it removes the blank page.
Remove Section Breaks:
If the blank page is in a different section, you may need to remove section breaks.
Click on the "Layout" or "Page Layout" tab.
Click on "Breaks" and select "Next Page" to remove section breaks.
Use the Navigation Pane:
Open the Navigation Pane in Word (usually found in the "View" tab).
Look for any headings or content on the blank page in the Navigation Pane.
Click on the content in the Navigation Pane and press "Delete" to remove it.
Save as PDF and Back to Word:
If all else fails, save your document as a PDF.
Open the PDF and check for any additional pages.
If the blank page is gone in the PDF, save it back to Word format.
By following these steps, you should be able to finally delete that stubborn blank page in Microsoft Word.


