How to Set Up the Nighthawk X6 Tri-Band Range Extender Using the Nighthawk App | NETGEAR Setup
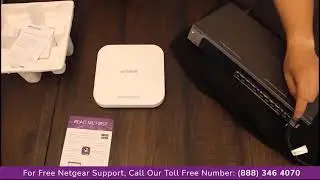
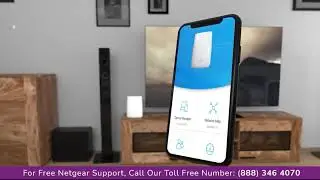
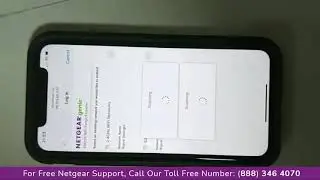
Netgear extender setup support helps you understand The Nighthawk App makes it easy to set up your Nighthawk X6 Tri-Band Range Extender right from your mobile device. Simply download the app, plug in your Mesh Extender, and tap on the New Setup option. Connect to your Extender's network and the Nighthawk App will guide you through a few short steps. Once your setup is complete, you can continue to use the Nighthawk App to monitor your network and get more out of your WiFi. Manage connected devices, update firmware, check network status, and so much more!
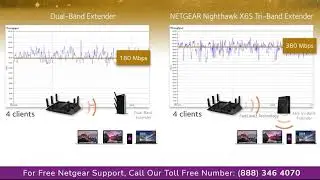
With the NETGEAR Nighthawk X6 Tri-Band WiFi Mesh Extender, you can have a whole-home mesh WiFi network that's up to 100% faster than traditional dual-band range extenders.
With Nighthawk Mesh WiFi, you can easily create a whole-home WiFi system with your existing router. Extend coverage of your current WiFi with the same WiFi name and password, with One WiFi Name.
#Nighthawk
To extend the range of your WiFi network, you must connect the extender to your existing WiFi network. You can do this in one of two ways:
► Connect with WPS. Wi-Fi Protected Setup (WPS) lets you join a secure WiFi network without typing the network name and password.
► Connect with the NETGEAR installation assistant. To use the NETGEAR installation assistant, you must launch a web browser from a computer or mobile device.
To set up your extender using the NETGEAR installation assistant:
Step 1:- Turn on your extender.
Step 2:- Place your extender close to your WiFi router.
Step 3:- Plug your extender into an electrical outlet.
Step 4:- Wait for the Power LED to light green.
If the Power LED does not light, press the Power button.
Step 5:- Connect a computer or mobile device to the extender using a WiFi or Ethernet connection:
► WiFi. On your WiFi-enabled computer or mobile device, open the WiFi connection manager and locate and connect to the extender network called NETGEAR_EXT.
When your WiFi-enabled computer or mobile device is connected to the extender, the Client LED lights solid white.
► Ethernet. Use an Ethernet cable to connect the Ethernet port on the extender to an Ethernet port on your computer.
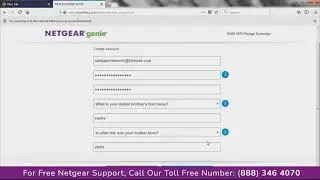
Step 6:- Launch a web browser from a computer or mobile device and enter www.mywifiext.net.
The NETGEAR installation assistant displays.
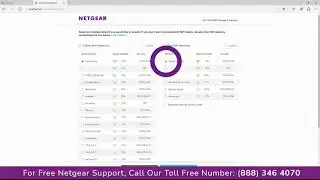
Step 7:- Follow the prompts to connect your extender to your existing WiFi network.
Step 8:- Move your extender to a new location that is about halfway between your router and the area with a poor WiFi signal.
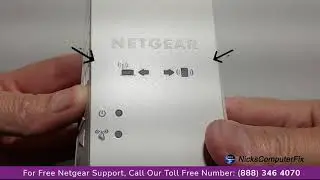
The location must be within range of your existing WiFi router network. The Link Status LED helps you choose a spot where the extender-to-router connection is optimal.
Step 9:- If you get no connection or a poor connection, move the extender closer to your router and try again until the Link Status LED lights white.
Step 10:- After you find the best location for your extender, connect your client devices to the extended WiFi network.
Get Instant Solution to all Problems ⌛
► Visit Our Website For More Info:- https://www.paulsguide.net
► Call HP Printer Support:- +1-888-245-4797 (Toll-Free Number)
This Video is the work of the HP Printer support team
DISCLAIMER: Please don't go out of your way to or hate on anyone I talk about in my videos, this channel is to educate people and I usually focus on education users through technology.
#NetgearExtender #Extendersuppport #hp #Setup #Guide #techsupport
Copyright Disclaimer Under Section 107 of the Copyright Act 1976, allowance is made for, fair use, for purposes such as criticism, comment, news reporting, teaching, scholarship, and research. Fair use is a use permitted by copyright statute that might otherwise be infringing. Non-profit, educational, or personal use tips the balance in favor of fair use.
Thanks For Watching.