Netgear wifi range extender setup | Netgear Technical Support
Netgear extender setup support helps you understand Netgear wifi range extender setup
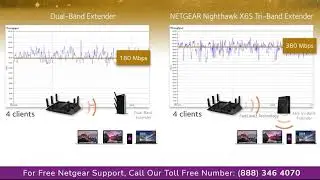
Netgear Wifi Extender is an effective way to boosting wifi bandwidth. Our expert know the importance of a perfect and properly installed technology that boosts the internet. This website provides instructions on how to wirelessly connect to your NETGEAR Wi-Fi Extender using manual setup after the NETGEAR WiFi Extender has been successfully connected to the wifi booster and obtained a valid connection.
Mywifiext Netgear Extender Setup:-
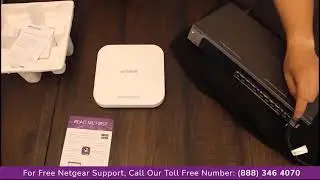
Step 1:- Plug your range extender to power button, and wait till the device turns on.
Step 2:-After you are connected. On the address bar of your browser type, www.mywifiext.net and then press the enter button.
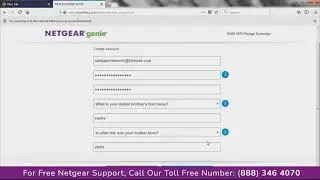
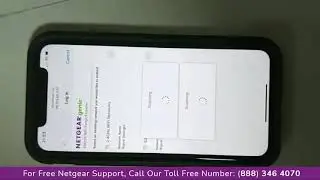
Step 3:-Now click on new extender setup and it’s time to register your netgear Genie Setup. Create the required account.
Step 4:-Later you will be asked, ‘how you want to use your extender’ there select the option of Wi-Fi range extender network.
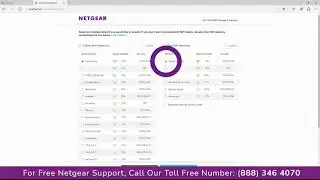
Step 5:-A list of wireless networks will appear. There select with the available network. Enter the password and select next.
Step 6:-Now you can change your settings. Once you are done with the settings, restart all your devices and shift the extender to new position where it needs to be placed.
Steps to setup Netgear range extender:
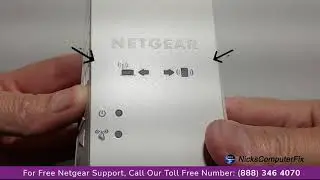
Step 1:- Plug in the extender and wait for a moment till the power LED turns green.
Step 2:- On your wireless networking device, connect to the wireless network.
Step 3:- Go to the web browser from the device, the browser will directly take you to the onscreen New Extender Setup.
Step 4:- It will further serve you with a list of existing wireless networks, that are available within the range. Once your search gets completed a list will appear in front of you, displaying the names of all the wireless networks available . Select the new one that is not your existing wireless network you wish to extend .
Step 5:- In case your new wireless network is enabled with security, a pop up box will appear where you will be asked to enter the passphrase.
Step 6:- If the router supports the dual band, then you need to select, two network of your new network and then click on continue. But in case it does not select the option; My router does not support Dual band.
Step 7:- You will be further asked to change the wireless settings of your Extender. And if you do not wish to make any sought of changes, click continue and then finalize the entire setup process.
Step 8:- Do not forget to review , be sure that they are correct. Now connect your devices with the network.
Step 9:- Once you are successfully connected. Go to the extender screen and there recheck the option. My wireless devices are connected to the extender network.
Step 10:- After you are done with all the steps, click on finish button to close the entire setup page.
Get Instant Solution to all Problems ⌛
► Call Netgear Support:- (888) 346 4070 (Toll-Free Number)
This Video is the work of the Netgear support team.
DISCLAIMER: Please don't go out of your way to or hate on anyone I talk about in my videos, this channel is to educate people and I usually focus on education users through technology.
#NetgearExtender #Extendersuppport #hp #Setup #Guide #techsupport
Copyright Disclaimer Under Section 107 of the Copyright Act 1976, allowance is made for, fair use, for purposes such as criticism, comment, news reporting, teaching, scholarship, and research. Fair use is a use permitted by copyright statute that might otherwise be infringing. Non-profit, educational, or personal use tips the balance in favor of fair use.
Thanks For Watching.