2. Putting Together All The Scenes.
Chapter 7 - Animate a Scene: Lecture 2 - Putting Together All The Scenes
Welcome back to Lecture 2 of Chapter 7 in our course on creating animated series for YouTube using CrazyTalk Animator. In this lecture, we'll finally bring all the pieces together and assemble our animated scenes into a complete episode.
*Gathering the Scenes:*
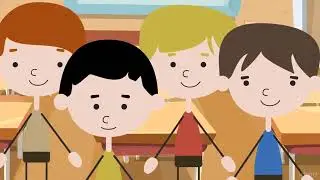
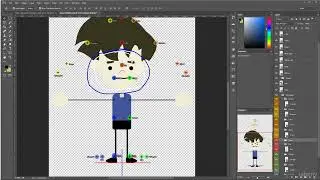
Before we begin, ensure you have all the individual scenes you've created in previous lectures organized and ready to use. These scenes should include character animations, dialogues, background elements, and any other visual components that make up your episode.
*Importing Scenes into the Project:*
1. Launch CrazyTalk Animator and open the project file for your episode.
2. Navigate to the "File" menu and select "Import Scene."
3. Locate the individual scene files you want to import and click "Open."
4. Repeat steps 2 and 3 for each scene you want to add to the project.
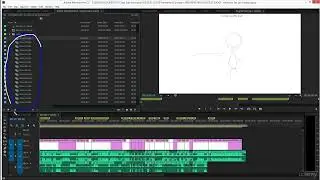
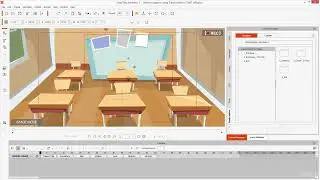
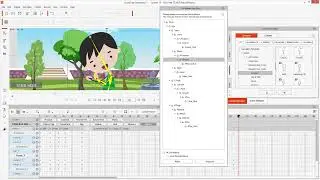
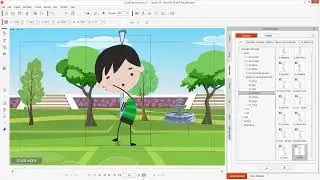
*Arranging Scenes in the Timeline:*
1. Once all scenes are imported, the timeline at the bottom of the screen will display them as separate tracks.
2. Drag and drop the scene tracks to arrange them in the order you want them to appear in the episode.
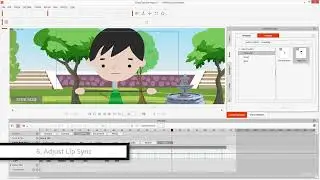
3. Double-click on a scene track to open its corresponding scene editor, where you can fine-tune the animation and timing.
*Adding Transitions:*
1. To create smooth transitions between scenes, select the scene track that follows the previous scene.
2. Click the "Insert" button and choose "Transition" from the drop-down menu.
3. Select the desired transition type from the available options, such as fade, wipe, or dissolve.
4. Adjust the transition duration using the slider provided.
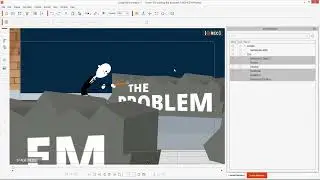
*Enhancing the Episode:*
1. Consider adding background music or sound effects to enhance the overall atmosphere of the episode.
2. Utilize text overlays to display episode titles, character names, or other relevant information.
3. Employ camera movements and zooms to add visual interest and emphasize key moments.
*Exporting the Episode:*
1. Once you're satisfied with the final edit, click the "Export" button.
2. Choose the desired output format, such as MP4 or MOV.
3. Select the resolution and quality settings for the exported video.
4. Click "Export" to render the final episode file.
*Call to Action:*
Thank you for joining me in this comprehensive guide to creating animated series for YouTube using CrazyTalk Animator. I hope you've found this course valuable and are now equipped to produce your own captivating animations.
Remember to subscribe to our channel for more in-depth tutorials, tips, and tricks on animation and video creation. Share our channel with your friends and family so they can also benefit from our free premium content.
*Hashtags*
#CrazyTalkAnimator #AnimationTutorial #YouTubeSeries #AnimatedSeries #AnimationSoftware #2DAnimation #CharacterAnimation #LipSync #MotionGraphics #VideoEditing #CreateAnimatedSeries #YouTubeChannel #FreePremiumContent #Subscribe #Share #AnimationTips #AnimationTricks #VideoCreation #Storytelling #VisualContent #CreativeExpression #Entertainment #Education #Inspiration #Motivation #Community #Support #LearnAnimation #CreateWithCrazyTalk #AnimationCommunity #YouTubeCreator #AnimationEnthusiast #AnimationArtist #AnimationStudio #AnimationIndustry #AnimationPassion

![HOW TO GET FISHMAN KARATE + SHOWCASE! [SQUARE PIECE]](https://images.videosashka.com/watch/hYK8KdZ8dW4)