1. Importance of the visualization.
Welcome to Chapter 3 of our course "Create Animated Series for YouTube in CrazyTalk Animator." In this lecture, we will dive into the importance of visualization in character design and preparation, specifically focusing on creating PSD (Photoshop Document) characters. Visualization is a critical step in the animation process, as it lays the foundation for the entire project, ensuring that your characters are not only visually appealing but also functional and expressive in your animated series.
The Significance of Visualization in Animation
Visualization in animation is the process of imagining and planning out your characters and scenes before you start the actual animation. This step is essential for several reasons:
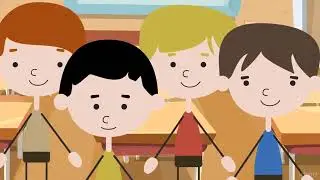
1. **Consistency and Coherence**: Visualization helps maintain consistency in character design, which is crucial for a professional-looking animated series. By visualizing your characters, you can ensure that they look the same across different scenes and episodes.
2. **Creative Exploration**: It allows you to explore different styles, shapes, and features for your characters. This exploration can lead to unique and memorable designs that set your series apart from others.
3. **Technical Preparation**: By visualizing your characters, you can plan for technical requirements such as rigging and animation. This preparation can save you a lot of time and effort during the production phase.
4. **Improved Communication**: Visualization aids in communicating your ideas to other team members or collaborators. Clear and detailed visuals can help everyone involved understand the look and feel of the characters and scenes.
5. **Emotional Impact**: Well-designed characters can evoke emotions and connect with your audience on a deeper level. Visualization helps you fine-tune the details that contribute to this emotional impact.
Steps to Effective Visualization
#### 1. Concept Sketching
Start with rough sketches of your characters. These sketches don't need to be perfect; their purpose is to explore different ideas and styles. Focus on the overall shape, proportions, and key features of your characters. Experiment with different hairstyles, clothing, and expressions to find a design that resonates with your vision.
#### 2. Character Profiles
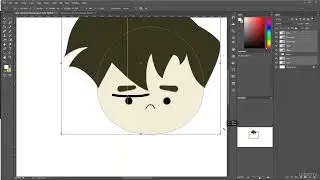
Once you have a rough idea of your characters, create detailed character profiles. These profiles should include front, side, and back views of your characters, along with close-ups of important features like the face and hands. This step ensures that you have a comprehensive reference for creating the final PSD files.
#### 3. Color Schemes
Choosing the right colors for your characters is crucial. Colors can convey personality, mood, and even the role of the character in the story. Create a color palette for each character and test different combinations to see what works best. Remember to consider how the colors will look in different lighting conditions and backgrounds.
#### 4. Finalizing the Design
Once you're satisfied with the sketches and color schemes, create the final design. This step involves refining the details and making sure everything looks polished. Pay attention to proportions, symmetry, and any unique features that make your character stand out.
Preparing PSD Characters for CrazyTalk Animator
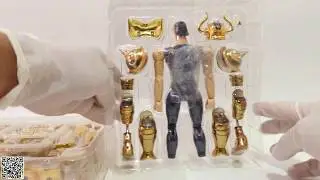
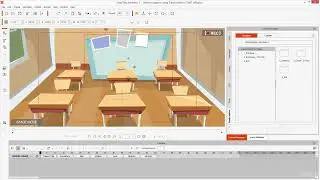
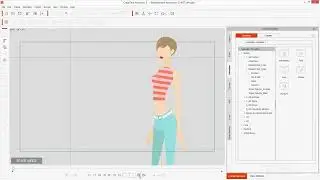
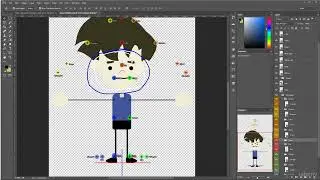
#### 1. Layer Organization
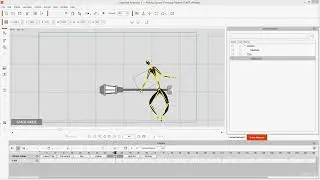
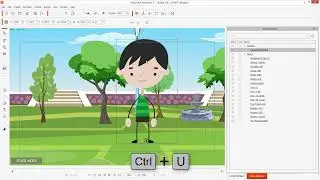
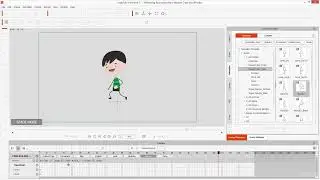
When creating PSD characters for animation, organizing your layers is crucial. Each part of the character (head, torso, arms, legs, etc.) should be on separate layers. This organization makes it easier to rig and animate the characters in CrazyTalk Animator.
#### 2. Naming Conventions
Use clear and consistent naming conventions for your layers. This practice helps you quickly identify and select the parts you need during the rigging process. For example, name the head layer "Head," the left arm layer "Left_Arm," and so on.
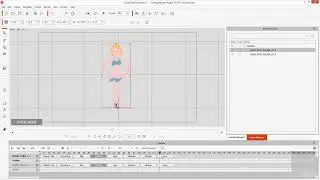
#### 3. Layer Hierarchy
Ensure that the layers are arranged in the correct hierarchy. The order of the layers affects how the parts are rendered and animated. Typically, you would have the head on top, followed by the torso, arms, and legs.
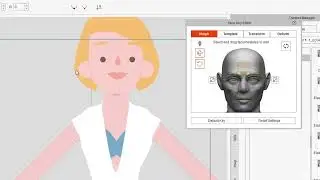
#### 4. Separate Facial Features
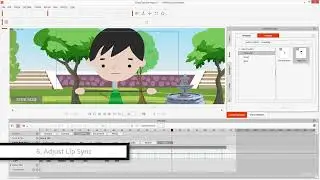
For more expressive animations, separate the facial features (eyes, mouth, eyebrows, etc.) into individual layers. This separation allows you to animate each feature independently, giving you more control over the character's expressions.
#### 5. Exporting the PSD File
Once your character design is complete and all layers are organized, save and export the PSD file. Ensure that you maintain the highest resolution possible to avoid any loss of quality during the animation process.
If you've enjoyed this lecture and found it helpful, we encourage you to subscribe to our YouTube channel. By subscribing, you'll get instant notifications whenever we upload new videos, ensuring you never miss out on any valuable content. Our channel offers premium videos for free.