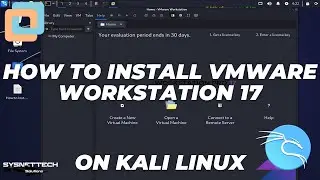
How to Install Windows Server 2019 on Oracle VM VirtualBox | Boost Your Virtual Environment 🚀💻
This tutorial demonstrates how to install the Windows Server 2019 Technical Preview version step-by-step using Oracle VM VirtualBox 5x or newer on the Windows 11 or 10 operating system.
✅ S U B S C R I B E ► http://goo.gl/8d0iG9
✅ Article ► https://www.sysnettechsolutions.com/e...
This detailed guide will show you how to install the Windows Server 2019, 2016, or 2022 versions. We'll use Oracle VM VirtualBox 5x, 6x, or 7x, a robust virtualization tool on the Windows 11 or 10 system. Follow the step-by-step instructions for a smooth installation of the Microsoft Server Technical Preview version.
Step 1: To make things better, start by installing VirtualBox on Windows 10 or 11.
Video ➦ • How to Install VirtualBox 5 on Window...
Article ➦ https://www.sysnettechsolutions.com/e...
Step 2: After installing the virtualization software, when creating a new virtual machine for Server 2019, select Windows Server 2016 (64-bit) in the operating system selection window and enable hardware acceleration options.
Step 3: Before grabbing the #Server2019 ISO file, make sure your virtual machine is ready. Check it has enough disk space and memory to handle the server software.
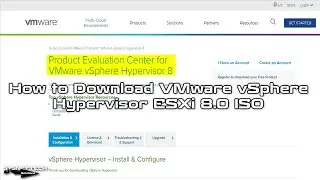
Step 4: Once your virtual machine is good to go, download the #Server2019 ISO from a reliable source. Go to the software vendor's website or use a trustworthy download site.
Step 5: To get the #Server2019 ISO, follow some easy steps. Find the download link on the website, usually saying "Download Now" or "Get Started." Click it to start the download.
Step 6: The download might take a while, depending on your internet speed. Once it's done, you've got the #Server2019 ISO on your computer. Now, use this file to install the server software on your virtual machine.
➦ https://www.sysnettechsolutions.com/e...
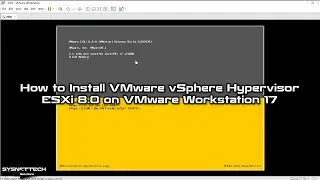
Step 7: To put Windows Server on a virtual machine, do a few easy steps. Add the ISO image file to the VM and run it. Watch a video tutorial, follow each step, and finish the setup.
Step 8: To keep up with the latest Windows Server training, subscribe to our YouTube channel. This way, you'll find more helpful videos and learn more about Windows Server.
───────────────RELATED VIDEOS───────────────
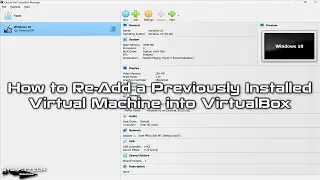
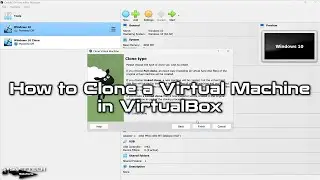
➊ • How to Create a New Virtual Machine o...
➋ • How to Install Windows 10 on VirtualB...
➌ • How to Install VirtualBox and Extensi...
➍ • How to Upgrade/Update VirtualBox and ...
➎ • How to Install Windows Server 2019 on...
───────────────FOLLOW US───────────────────
✔ Facebook
➦ / sysnettechsolutions
✔ Twitter
➦ / sysnettechs
✔ Pinterest
➦ / sysnettechs
✔ Instagram
➦ / sysnettech_solutions
✔ LinkedIn
➦ / tolqabaqci
███████████████████████████████████████████