How to Install Windows 10 64 Bit UEFI on VMware Fusion 10/11 Pro on macOS | SYSNETTECH Solutions
This video shows you the steps to install Microsoft Windows 10 using VMware Fusion 10/11 Pro virtualization program on macOS High Sierra operating system.
S U B S C R I B E ►
Article ►
This video tutorial has been updated:
To install Windows 10:
Step 1: If you haven't installed High Sierra or VMware Fusion before, please check the articles below.
Installing macOS High Sierra
Installing VMware Fusion
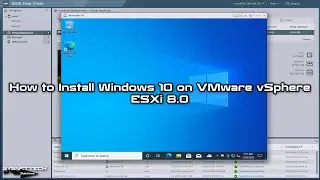
Step 2: After installing the Fusion virtualization software, you are ready to install Windows 10 on your
Step 3: First, download the ISO file to your computer.
Step 4: After downloading the ISO file to your computer, run the Fusion program.
Step 5: Now, select Create a custom virtual machine and click the Continue button.
Step 6: Select Microsoft Windows and then Windows 10 operating system in the operating system selection window. Then continue with the virtual machine setup.
Step 7: Select Create a new virtual disk in the Choose a Virtual Disk window and click Continue.
Step 8: In the virtual machine summary window, click the Customize Settings button to add the ISO file to the virtual machine.
Step 9: In the Save As window, select the location where you want to install the VM and click the Save button.
Step 10: In the VM settings, click on the CD/DVD device and select Choose a disk or disk image.
Step 11: Add the ISO file to the VM and follow the video tutorial to make a clean install.
Step 12: Don't forget to subscribe to our YouTube channel for more videos on the VMware Fusion tutorial!
───────────────BEST PRODUCT────────────────
Buy ►
───────────────RELATED VIDEOS───────────────
How to Install Windows 98
How to Install Windows 95
How to Install Windows 7
How to Install Windows XP
How to Install Windows Vista
───────────────FOLLOW US───────────────────
Facebook
Twitter
Pinterest
Instagram
LinkedIn
███████████████████████████████████████████