How to Install PgAdmin 4 on Ubuntu 22 04 LTS (Linux)
Are you looking to install PgAdmin 4 on Ubuntu 22.04 LTS? Follow this step-by-step guide to learn how:
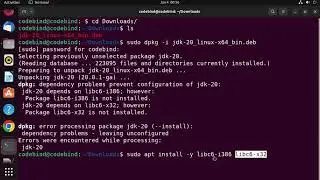
1. Update System Packages:
Open a terminal on your Ubuntu system.
Run the following command to update the system packages:
```
sudo apt update
```
2. Install PgAdmin 4 Dependencies:
Run the following command to install the necessary dependencies:
```
sudo apt install curl ca-certificates gnupg
```
3. Import Repository Key:
Run the following command to import the repository key for PgAdmin 4:
```
curl https://www.pgadmin.org/static/packag... | sudo gpg --dearmor -o /usr/share/keyrings/pgadmin-keyring.gpg
```
4. Add Repository:
Run the following command to add the repository for PgAdmin 4:
```
echo "deb [signed-by=/usr/share/keyrings/pgadmin-keyring.gpg] https://www.pgadmin.org/download/pgad... -cs) pgadmin4 main" | sudo tee /etc/apt/sources.list.d/pgadmin4.list
```
5. Update System Packages Again:
Run the following command to update the system packages once more:
```
sudo apt update
```
6. Install PgAdmin 4:
Run the following command to install PgAdmin 4:
```
sudo apt install pgadmin4
```
7. Access PgAdmin 4:
Once the installation is complete, you can access PgAdmin 4 through your web browser.
Open your preferred browser and enter the following URL:
```
http://localhost/pgadmin4
```
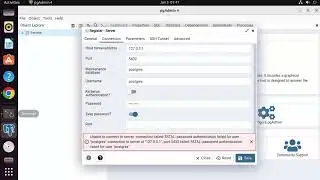
8. Set Up Initial User:
On the PgAdmin 4 login page, click on "Create a new role".
Enter your desired email address and password for the initial user account.
Click on the "Save" button to create the user.
9. Log in to PgAdmin 4:
Enter the email address and password of the initial user you created.
Click on the "Sign in" button to log in to PgAdmin 4.
By following these steps, you can install PgAdmin 4 on Ubuntu 22.04 LTS and start using it to manage your PostgreSQL databases. Enjoy the powerful features and user-friendly interface provided by PgAdmin 4.