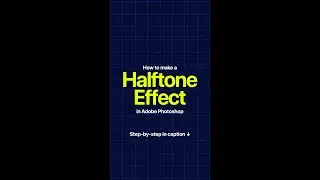
How to Make a Halftone Effect on Any Picture | Adobe Photoshop | DesignbyBilalKhan | Tutorial
How to Make a Halftone Effect on Any Picture in Adobe Photoshop
Step 1: Convert to Grayscale
Press Ctrl + Shift + U to desaturate the image and convert it to grayscale.
Step 2: Add a Solid Color Layer
Add a new layer and fill it with 50% black. You can do this by going to Layer then New Fill Layer and choosing Solid Color, then selecting #808080 (50% gray).
Step 3: Convert to Smart Object
Convert your layer to a smart object by right-clicking on the layer and selecting Convert to Smart Object. This allows for non-destructive editing.
Step 4: Open the Filter Gallery
Go to Filter and select Filter Gallery.
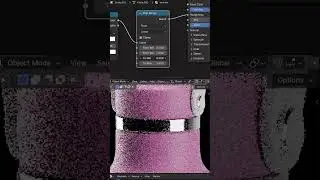
Step 5: Apply the Halftone Pattern
In the Filter Gallery, go to the Sketch section and select Halftone Pattern.
Adjust the settings to your liking.
Step 6: Change Blending Mode
Change the blending mode of the layer to Hard Mix. You can do this by selecting the layer and choosing Hard Mix from the blending options dropdown.
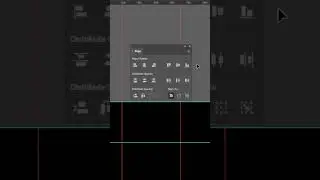
Step 7: Apply Twirl Distortion
Go to Filter, then Distort, and select Twirl.
Adjust the twirl settings to achieve the desired effect.
Step 8: Apply Gradient Map
Apply a gradient map by going to Image, then Adjustments, and selecting Gradient Map.
Pick the colors you want for your halftone effect.
For more tips and tricks, like, comment, and follow: @designbybilalkhan.
Thanks for watching! Now you can turn any picture into a halftone masterpiece!
.
.
.
.
.
.
.
.
.
.
.
.
.
#Photoshop #GraphicDesign #DesignTutorial #CreativeProcess #PhotoEffects #HalftoneEffect #ArtisticEdit #DigitalArt #PhotoEditing #PhotoshopTutorial #DesignTips #ArtTips #CreativeInspiration #DesignCommunity #DigitalDesign #GraphicArtist #PhotoshopMagic #VisualArt #DesignLife #InstaDesign #DesignInspo #DesignDaily #ArtDaily #CreateArt #DesignLovers #ArtOfVisuals #DesignGram #VisualDesign #ArtWork