Discover the SECRET to Stunning Duotone Effects in Photoshop!
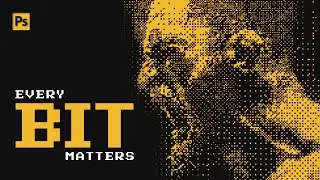
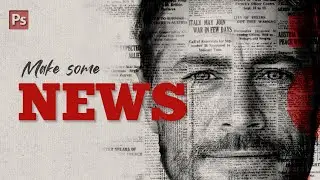
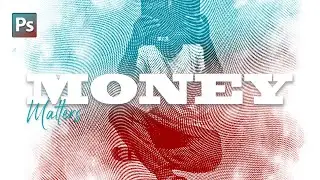
Unlock your creativity with this comprehensive Photoshop tutorial on creating a *Duotone Double Exposure Effect**! Learn how to use **RGB channels in Layer Styles* to blend images seamlessly and add depth to your design. Enhance the effect with *Adjustment Layers* and bring out sharp, stunning details using the **High Pass Filter**.
In this video, you’ll discover:
✅ How to merge two images for a striking double exposure effect
✅ Tips for applying duotone color grading using Layer Styles
✅ The power of Adjustment Layers for perfecting your artwork
✅ How to sharpen details and enhance clarity with the High Pass Filter
Perfect for designers, photographers, and anyone looking to elevate their Photoshop skills! Whether you're creating for social media, branding, or personal projects, this guide has got you covered.
📂 *Resources:*
Download the sample image used in this tutorial:
https://www.lummi.ai/photo/aggressive...
https://www.lummi.ai/photo/silhouette...
https://fonts.google.com/specimen/Six...
👉 Time stamps
00:00 - Intro
00:56 - Canvas setup & image preparation
03:31 - Creating the effect
05:37 - Adding the adjustment layers
08:03 - Adding contrast & depth
08:40 - Refinements
10:00 - Adding the texts
11:25 - Conclusion
🎥 Don’t forget to like, comment, and subscribe for more Photoshop tutorials!
👉 Pinterest: [in.pinterest.com/dexplorion]
👉 Instagram: [instagram.com/dexplorion]
You can reach out to me for business-related purposes at
email: [[email protected]]
#DoubleExposure #PhotoshopTutorial #DuotoneEffect #GraphicDesign #PhotoEditing
