Learn how to create an iPhone app in Xcode - Chapter 1 ( SwiftUI Tutorial )
1. SwiftData Masterclass ♥️
https://www.udemy.com/course/swiftdat...
2. SwiftUI Masterclass ♥️
https://www.udemy.com/course/swiftui-...
3. Credo Academy ♥️ WELCOME25
https://learn.credo.academy/membershi...
. CHAPTERS
00:00 Introduction
00:21 Resource files
00:58 Workbook
01:31 New SwiftUI project
03:28 App Icon
04:21 Images
05:08 Color sets
06:56 Final touches
07:48 Testing
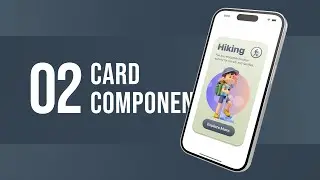
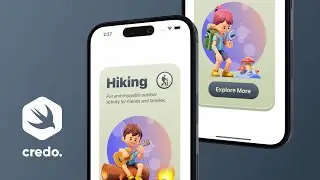
In this new SwiftUI tutorial, our primary goal is to develop a well-designed card component for a hiking application with the SwiftUI framework.
All right, let's get started.
First of all, go ahead and open the resources folder downloaded from this section.
As you will see in each SwiftUI project of this course, there are three additional folders and a supplementary workbook file inside it.
In the pink folder, you will find all the resource materials which we need to create the application.
Next, you will find the source code of the finished project in the green folder. The source code of the completed project can help you when you get stuck and need quick assistance.
And finally, we will save our new project in the blue folder.
Workbook
Awesome!
Now let's open the workbook document and quickly examine the app design and the main learning objectives.
We will learn how to put together different content containers by creating this impressive design during the development.
Not only that, but we will also cover how to develop reusable components, organize resource files and extend the functionalities of the built-in SwiftUI features.
Moreover, this mini-application will have some amazing features as well.
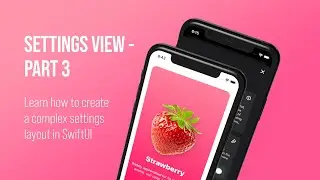
At the end of this course, you will get an impressive Card app with such a settings screen where users can change the application icon with different alternate app icons.
And finally, this project-oriented course suits beginner and somewhat advanced app developers.
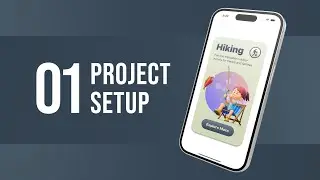
New iOS project
Alright! Now let's launch Xcode.
As usual, the very first step is creating a new project on Xcode's welcome screen.
As you can see, there is a new pop-up window where we can choose one of the premade templates that Xcode provides.
Here we need to select the bare-bone basic app template under the "iOS" project category.
After that, click on the Next button to go to the project configuration window.
Now, we need to enter some necessary information for this new iOS project:
For the product name, enter "Hike".
The next option is to select our team. You can keep whatever the default setting is here.
Of course, if you already have an Apple developer account, logging in here allows you to build your app on a real device.
In case you don't have an Apple developer account, you can skip this part and test your app in the iOS Simulator on your Mac.
For the Organization Identifier: you just need something unique. We usually enter our website address in reverse order starting with the domain name, then the web address.
For example, academy dot credo.
The bundle identifier is automatically combined with the project name and the organization identifier.
The following setting is the user interface. It must be SwiftUI.
After that, as we can see, Swift as the primary programming language is already set for us.
Finally, since we will not use Core Data or Unit Testing in this project, therefore make sure that these options are unchecked.
After finishing with these initial settings, please click on the Next button.
Now we need to tell Xcode where we want to save our SwiftUI project on the computer.
Please navigate to the Students folder and select it as the destination.
Now, click the Create button, and Xcode creates all necessary files and folders for this project.
App Icon
Awesome! Now we'll continue adding the prepared high-quality resource materials to this project.
First, we must select the Assets catalog in the Project Navigator panel.
Next, go ahead and click on the app icon set in the middle panel as I do.
By doing that, we should see an empty slot of the main app Icon on the right part of the Editor.
Now, go ahead and open the Resouces folder with the Finder and navigate inside the app icon folder, as I show you.
We first need to select the app icon PNG file in this folder.
After that, we're ready to add this single graphic file to the Hike project.
Please, go ahead and drag and drop this image into the empty app icon slot in the Assets catalog.
And? Here it goes! Excellent job so far!
We have just added a new Icon to this iOS project.
This 4K tutorial is part of the bestseller SwiftUI Masterclass course with more than 13 thousand students at the Credo Academy.
#SwiftUI #Xcode #swiftuitutorial


![iOS App Development for Beginners [ NEW 2022 ] SwiftUI Tutorials in 4K High-Quality](https://images.videosashka.com/watch/v5XoD5T3poQ)


![Learn how to develop a professional iPhone app design with SwiftUI 3 [ NEW iOS 15 ]](https://images.videosashka.com/watch/DhWnRNJhm-c)