Simplify Scheduling & Eliminate Overbooking on Google Forms Tutorial
Struggling to manage your booking slots without double-booking or overbooking? You're not alone! In this comprehensive tutorial, we'll show you how to keep your schedule organized using *Google Forms* combined with the powerful *Form Field Limit Add-On**. Whether you're arranging student meetings, booking client appointments, or planning events, this add-on acts as both a **choice eliminator* and a *form choice limiter* to prevent scheduling conflicts effortlessly.
*📌 What You'll Learn:*
1. Set Up Your Google Form
*Access Google Drive:* Start by navigating to [Google Drive](https://drive.google.com) and clicking the *+ New* button.
*Create a New Form:* Select *Google Forms* to create a new survey or sign-up form that's easy for users to fill out.
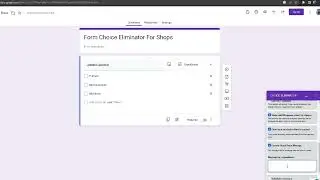
*Design Your Form:* Choose the *Blank* template, give your form a clear title (e.g., “Coaching Session Booking”), and add relevant questions using *Multiple Choice* or *Checkboxes* for scheduling purposes.
2. Install the Form Field Limit Add-On
*Open Add-ons Menu:* In your open form, click the three-dot menu in the top-right corner and select **Get add-ons**.
*Search & Install:* Look for *Form Field Limit* or similar terms like *Choice Eliminator* and click **Install**. Grant the necessary permissions to integrate the add-on with your form.
3. Configure Your Time Slots and Limits
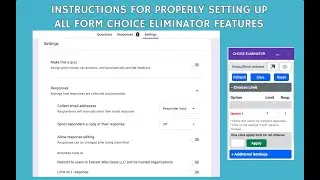
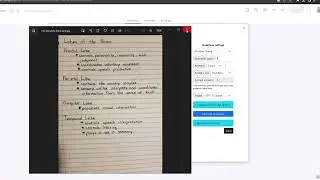
*Access the Add-On:* Click the puzzle piece icon near the top-right of your form and select *Form Field Limit, Choice Eliminator* from the dropdown.
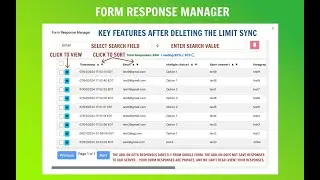
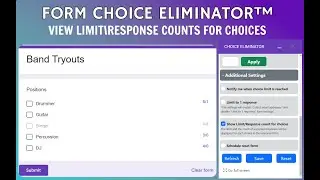
*Set Limits:* In the sidebar, locate your time slot question (e.g., “Career Development”) and specify the maximum number of responses allowed for each slot. Once a slot reaches its limit, it will automatically hide or be marked as unavailable to prevent overbooking.
4. Publish and Share Your Form
*Publish Your Form:* Click *Publish* at the top-right of Google Forms to make your form accessible to respondents.
*Copy Your Link:* Generate a responder link by clicking the link icon, then copy and share it via email, social media, or embed it on your website.
*Test the Form:* Open the form link in a new tab or different browser to ensure everything works smoothly. Submit a test entry and verify that the slot limits are enforced correctly.
*✨ Why Use the Form Field Limit Add-On?*
*Avoid Overbooking:* Automatically disables or hides options once they're filled, perfect for appointment schedulers or event registrations.
*Stay Organized:* Ideal for teachers, trainers, and anyone needing to manage limited slots or resources.
*Real-Time Updates:* Always see which slots are still available, ensuring your schedule remains up-to-date.
*Easy Sign-Ups:* Participants view only the available time slots, eliminating the need for back-and-forth emails.
*💡 Final Tips:*
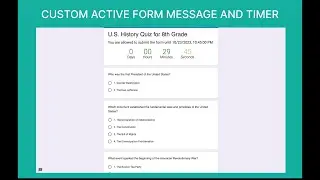
*Use Clear Labels:* Include dates and specific times (e.g., “June 12, 9:00 AM – 9:45 AM”) to avoid confusion.
*Enable Notifications:* Turn on email alerts to stay informed when a slot is fully booked.
*Review & Reset:* For recurring events, reset the limits or duplicate the form for each new session.
💬 *Have questions or need further assistance? Drop a comment below or reach out to our support team!*
Thank you for watching! 🌟