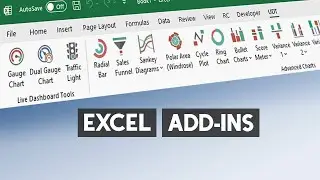
How to install an Excel Add-in - Step by step Tutorial
Welcome to our tutorial on how to install an Excel add-in. First, we need to enable the Developer Tab, by default, it is hidden.
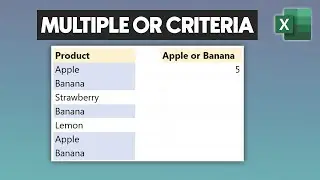
⚡Chart Tools for Excel:
https://exceldashboardschool.com/char...
🎓 LEARN MORE in my Excel tutorials: https://exceldashboardschool.com/
🔔 SUBSCRIBE if you’d like more tips and tutorials like this.
🎁 SHARE this video and spread the Excel love.
Chapters:
00:00 Intro
00:04 How to install an Excel Add-in - Step-by-step Tutorial
To enable the Developer Tab, right-click the ribbon and choose the Customize Ribbon command.
Under Customize the Ribbon and under Main Tabs, select the Developer check box. Okay, the developer tab is enabled. Under the Add-in Group, click the Excel Add-Ins command. In the Add-Ins window, click the Browse button.
That will open the Browse window in the Add-Ins folder. Locate your add-ins folder. Then select the add-in you want to install. Click OK.
From now on, you will see your add-in in the list. Click OK to close the Add-ins window. Your add-in is ready to use.
#exceltips #addins #excel #exceltricks

![[FREE] SLIMESITO x BEEZYB TYPE BEAT 2022 -](https://images.videosashka.com/watch/1EoTITwenvE)