RC522 RFID Arduino Tutorial (4$ only).
RFID RC522 Arduino Tutorial.
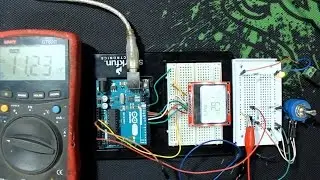
Today we are going to build a very interesting project. For the first time, we are going to use RFID tags with Arduino. I have built a simple project which reads the Unique ID (UID) of each RFID tag we place close to the reader and displays it to the serial monitor. If the UID of the tag is equal to a predefined value that is stored in Arduino’s memory, then in the serial monitor we are going to see our successful message and the green led will turn on. If the Unique ID of the card is not equal to the predefined value, then our negative message will appear on the screen and the red led will flash rapidly. Nice.
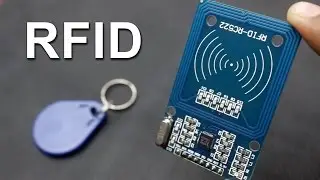
Each RFID tag has a small chip inside. If I place a flashlight under this RFID card you can see the small chip and the coil that surrounds it. This chip does not have a battery in order to get power. It receives power from the reader, this device, wirelessly using this big coil. The reader can read a RFID card like this one from a distance up to 20mm! The same chip exists in this type of RFID tags as well. Each RFID tag has a unique number that identifies it. That’s the UID that we display on the OLED display. Except for this UID, each tag can store data. In this type of cards, we can store up to 1K of data! Impressive isn’t it? We won’t use this functionality today but will do so in a future video. Today, all we are interested in is to identify a specific card by its UID. The cost of the RFID reader and these two RFID cards is around $4.
==================================================
Library for this RFID Module.
https://github.com/miguelbalboa/rfid
==================================================
Check out my blog for more information about this project.
http://cooltroniks.blogspot.in/2015/0...
==================================================
Code for this project.
https://www.dropbox.com/s/l880ryrls57...
++++++++++++++++++++++++++++++++++++++++++++++++
Make sure to Subscribe to my channel and rate the video.


