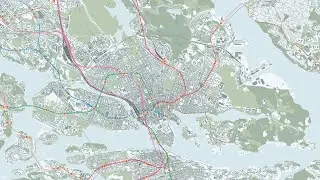
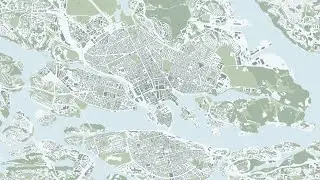
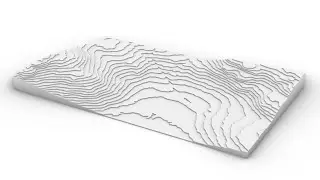
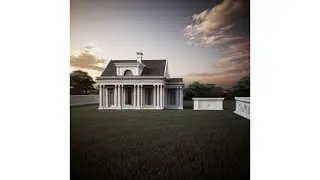
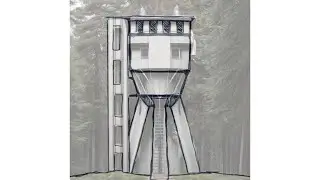
Tutorial – How to use ControlNet in ComfyUI, as well as Dynamic Prompts for wildcard prompting
Timestamps:
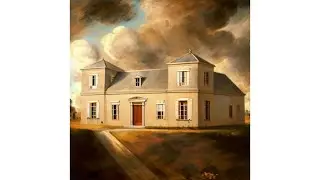
0:00 [Intro] Brief glance at results from workflow
0:18 [Intro] Scope of the tutorial
0:33 [ComfyUI Manager] Installing Dynamic Prompts for ComfyUI
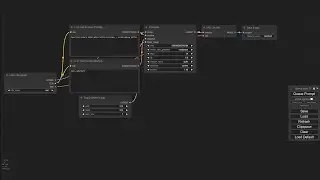
1:11 [ComfyUI] Adding a Random Prompts node to the workflow
1:17 [ComfyUI] Testing out Dynamic Prompts with a placeholder wildcard file
3:07 [PowerShell] Creating a Symbolic Link to directly reference folder contents in another directory
6:06 [File Explorer] If the symbolic link itself is deleted, the referenced contents are not
6:35 [ComfyUI] Adding a Load VAE node to the workflow
7:07 [ComfyUI] Adding ControlNet nodes to the workflow
7:54 [ComfyUI] Referencing an image as input for the ControlNet model
8:33 [ComfyUI] Adjusting the positive and negative prompts
9:01 [ComfyUI] Test generating (ControlNet working; Dynamic Prompts not working)
9:15 [ComfyUI] For Dynamic Prompts, setting batch SIZE to more than 1 is of no use, since the same seed is used for all the wildcards
9:29 [ComfyUI] For Dynamic Prompts, setting batch COUNT to more than 1 will randomize the wildcards
9:50 [ComfyUI] Due to ComfyUI not having been restarted since the addition of the symbolic link, the wildcards were not properly referenced
10:10 [ComfyUI] Troubleshooting to eventually reach the conclusion that a simple restart solved the problem with the wildcards
11:16 [ComfyUI] Restarting ComfyUI, refining the final prompt, and generating a small batch of images to test the wildcards
12:02 [ComfyUI] Saving the workflow as a .json file, and generating the final batch of images
12:25 [Outro] Your generated output may be viewed upon as a potential source of inspiration in how to proceed in your architectural project
12:47 [Outro] Showcase of results from workflow
.........................................
Links:
Previous tutorial on ComfyUI, showing how to install ComfyUI and ComfyUI Manager:
• Tutorial – How to install ComfyUI and...
Dynamic Prompts for ComfyUI:
https://github.com/adieyal/comfyui-dy...
The ComfyUI workflow used for Architectural Dreamscape (the workflow showcased in this tutorial):
https://drive.google.com/drive/folder...
To download the used models in bulk, a huge ZIP archive may be downloaded via the following link:
https://drive.google.com/drive/folder...
.........................................
If you want to learn how to create a depth mask in Blender for use with the ControlNet depth model:
• Tutorial – How to use Stable Diffusio...
.........................................
PowerShell example command to create symbolic link (make sure to correct this for your own directories!):
New-Item -Path D:\Git\ComfyUI\custom_nodes\comfyui-dynamicprompts\wildcards\X -ItemType SymbolicLink -Value D:\Git\StableDiffusion_Vladmandic\automatic\extensions\sd-dynamic-prompts\wildcards\X
.........................................
Hardware requirements:
NVIDIA dedicated GPU with minimum 6 GB of VRAM
.........................................
This tutorial demonstrates to KTH Architecture students how to use ControlNet in ComfyUI to allow the influence of reference images alter the generated output, as well as installing and using Dynamic Prompts for ComfyUI. Additionally, students are introduced to the use of Symbolic Links, and shown how to create them in PowerShell, to be able to reference contents in other directories (wildcard text files for Dynamic Prompts in this case).
ComfyUI is presented as yet another tool for architecture students to use in their design process – not to replace the active designing part of it, but to enrichen the process by offering a multitude of generated variations – all stemming from the design work you already have done; in this showcase, in the form of a volumetric massing study in a 3D program.
The operating system used for this tutorial is Windows 10. Running another operating system (e.g. Linux, MacOS) might amount to a different user experience or software incompatibility.
If you want to check in which computer room(s) any relevant software might be installed in – CADLAB, DFL, and ARCPLAN are in the KTH School of Architecture building – please check the following link for current status:
https://www.kth.se/en/student/it/camp...
Disclaimer:
This tutorial aims to increase student awareness of the versatility of the digital tools available for use within the context of the architectural education offered by KTH. As such, it might not be generally applicable, but on the other hand, if at least one architecture student is helped by it in fulfilling deliverables requirements or being taught something of genuine interest, the purpose of this tutorial is satisfactorily achieved. There might be inaccuracies in this tutorial – if you identify any significant one, please tell us in the comments.


![Tutorial – How to find the best free Digital Elevation Model for use in QGIS as a heightmap [GLO-30]](https://images.videosashka.com/watch/nHV8sW2BUhQ)
