Replacement of hydraulic engine mounts Audi A6 C7
To replace the hydraulic mounts of the 2.0 TFSI engine, the following tool will be required:
Spline M10 , M14
End heads for 13, 16
Torx T25, T30
Torque wrench
=====================
Procedure for replacing the engine cushions Audi A6 C7 2.0 TFSI
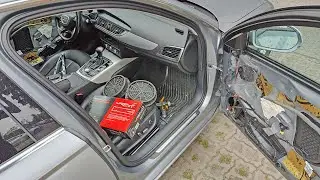
1) Remove the wheels and lower protection
2) Remove the front part of the locker and bend it
3) Loosen the central bolt of the Spline M14 a little
4) To jack up and raise the engine a little, I did it under a pallet with a wooden board
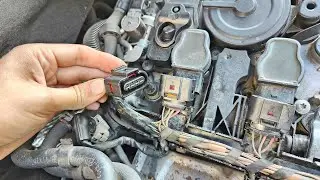
5) Completely unscrew and pull out the Spline M14 bolt from one side
6) Unscrew and remove the remaining 4 bolts
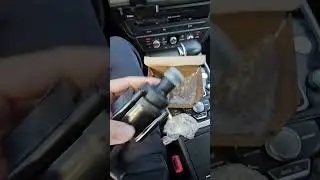
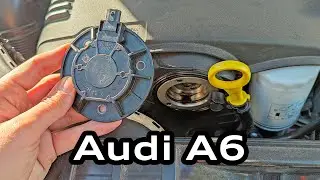
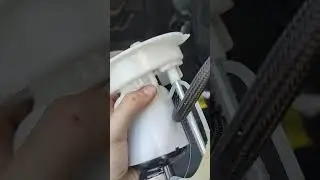
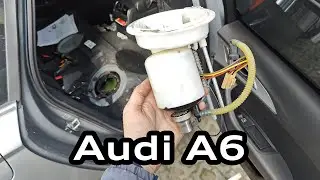
7) Remove the old mount and casing
8) Install a new mount, thread 2 bolts on 16 to properly position
9) Install the casing and tighten the 2 lower short bolts and
10) Center the position of the motor so that the hole to the bracket coincides with the hole in the mount, tighten the central bolt Spline M14
11) Lower the engine and tighten the torque wrench with the right moments
12) Replace the second mount and collect all the plastic
=====================
Spare parts Articles:
Right mount / hydraulic silent block VAG 4G0199381LA / 4G0199381QA
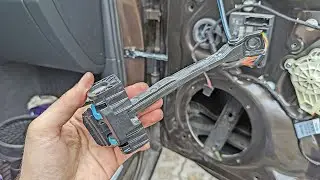
Left mount / hydraulic silent block with electric valve VAG 4G0199381KT / 4G0199381NT
Central bolt M12X1.5X70 (under the twelve-sided SPLINE M14) N91210501 / N91275001
Head Spline M14 AvtoDelo 39514
=====================
Instructions from ELSA with tightening torques https://disk .yandex.ru/i/0184lZOoLDbaFQ
Tightening torques:
Lower bolts spline M10 - 20Nm
Medium bolt spline M14 - replace with new, 90Nm with 90 degree rotation
Two long bolts 16 - 55Nm
=====================
Timecodes:
0:00 Start
0:17 Symptoms of a problem with mounts
1:07 A necessary tool
1:50 Spare Parts
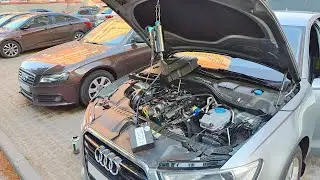
2:58 Removing engine protection
3:31 Inspection of the condition of the engine cushions
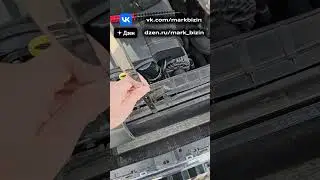
5:12 What you need to unscrew
6:54 Removing the right engine mount
8:27 Inspection of the condition of the old engine mount and comparison with the new
9:55 Inspection of bolts that need to be replaced
10:58 Installing a new right mount
15:00 Removal of the left engine mount
16:48 Inspection of the condition of the old engine mount and comparison with the new
17:30 Installation of a new left mount
25:03 Results after replacement of mounts
=====================
My blog on DRIVE2 https://www.drive2.com/users/mark47/