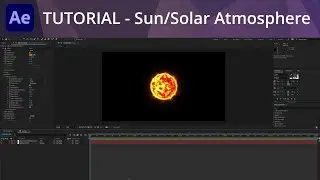
After Effects Tutorial - Sun/Solar Atmosphere
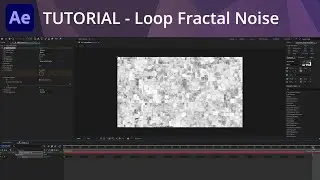
To begin, create a new solid and add Fractal Noise. For this instance, Dynamic Twist is a good fractal type since it creates swirls and twirls. Bump up the Contrast and set Evolution keyframes.
Next, add coloring. There are several options, but the Colorama effect has a Fire preset that is quite serviceable. Then, apply CC Sphere to create a sphere. Under Shading, raise the Ambient setting to 100 to avoid falloff. Add Y rotation keyframes for sun rotation.
Then, with your layer selected, go to Layer - Auto-trace. Apply to a new layer, and select OK. This creates a new layer with a mask of the circular sun. Apply the Saber effect.
Under Customize Core, set the core type to Layer Masks. Now, Saber will follow the traced circle. Choose a Preset. I think the Heat preset works well. Then, set the blending mode of your Saber layer to Add. You now have a rotating sun.
Alter the settings to your liking. In my example, I put wind speed down to 0 (under Glow Distortion) and reign in some of the glow and spread. But, this is a quick and easy way to create a sun that is highly customizable.
#andyfordvideo #aftereffects #motiongraphics #adobe