Affinity Designer Tutorial - Contour Tool
Hello Designers and welcome to another Affinity Designer tutorial!
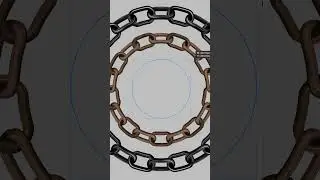
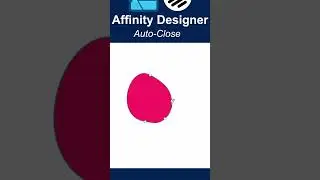
In this video we are going to be looking at the Contour Tool. I will show you how to use it, and how it might become useful when creating designs. I will be experimenting with different shapes and strokes so that you may see the results of using the contour tool. I will also be creating compound shapes and then testing out this tool to create some really cool crazy shapes like meta balls! I'll show you how to create the Command Symbol too.
As always i'll be sharing I'll be tips and tricks along the way with shortcuts that can be useful to speed up your design process.
If you enjoy my videos please give them a thumbs up and let me know the in the comment section. Subscribe and tap the notification bell to get notified of my new videos.
Cheers!
NOTE: I'm Using a MAC, so any shortcuts I mention may be different for WINDOWS USERS. See the below for the WINDOWS:
Mac Command key = Windows Ctrl key
Mac Shift key = Windows Shift key
Mac Alt key = Windows Alt key
Mac Ctrl key = Windows Right Mouse button
QUESTIONS: If you have any questions or want to show me how to do something better, leave a comment, and don't forget to click like and subscribe.
ALL MY AFFINITY DESIGNER TUTORIALS: / artistwright
CHECK OUT MY AFFINITY SHOP OF FREEBIES, VECTOR PACKS AND BRUSH PACKS:
https://artistwright.gumroad.com/
MY WEBSITE:
https://www.artistwright.com/
Time Stamps:
0:00 Intro
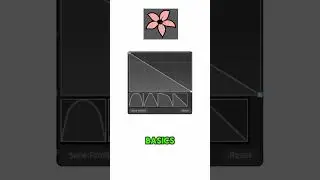
0:14 The Basics - How it Works
7:17 Compound Shape - Meta Balls
10:26 Integrating Photography / Design
12:24 Working with Strokes
13:59 Experimenting with Strokes
15:53 Text Outline Effect
17:24 Exercise - Recreating the Command Symbol
19:37 Scaling Up and Down
20:37 Outro
#affinitydesigner #contourtool #illustration