Affinity Designer 2: Knife Tool and Scissor Tool Tutorial
Hello Designers and welcome to another Affinity Designer tutorial! Today, I'm going to show you how to use the Knife Tool and Scissor tool in Version 2. whether you are a beginner or an advanced user of Affinity its going to help as I cover alot of techniques, tips and tricks.
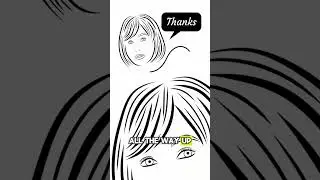
Learn multiple ways of cutting open and closed curves, I'll teach you how to create smooth cuts, sharp corners, single and multiple cuts, and cutting inside objects. I'll demonstrate how to apply these tools by using examples that are actually useful, including a T-shirt a surf line drawing, a monstera plant, a text glitch effect and how to cut and recolour.
Let's get cutting-edge with Affinity Designer!
I now have a SUPER THANKS button!!! So if you feel like buying me a coffee as a thank you, tap away!
If you have any questions or want to show me how to do something better, leave a comment, and don't forget to click like and subscribe.
NOTE: I'm Using a MAC, so any shortcuts I mention may be different for WINDOWS USERS. See the below for the WINDOWS:
Mac Command key = Windows Ctrl key
Mac Shift key = Windows Shift key
Mac Alt key = Windows Alt key
Mac Ctrl key = Windows Right Mouse button
CHECK OUT MY AFFINITY SHOP OF FREEBIES, VECTOR PACKS AND BRUSH PACKS:
https://artistwright.gumroad.com/
MY WEBSITE:
https://www.artistwright.com/
Time Stamps:
0:00 Intro
0:27 Knife Tool Basics
1:31 4 Ways to Use the Knife Tool
6:05 Auto Close
7:15 Cut Inside Object
8:10 Single Cut
8:42 Multiple Cuts
10:21 Monstera Design Example
11:47 Cut & Recolour Example
13:41 Glitch Example
16:23 Scissor Tool
19:36 Surf Design Example
21:31 Outro
#affinitydesigner #affinity #tutorial
