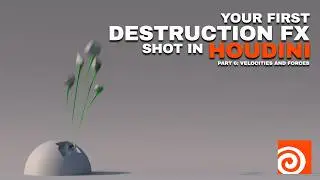
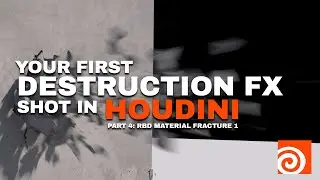
Your First Destruction Shot | Part 6 | Using RBD Velocities and Forces
In Part 6 of Your First Destruction Shot series, we are exploring how to utilize velocities and forces to destroy our objects. This presents much more control over your rigid body simulations in Houdini. There are plenty of useful tips and tricks in this one, especially if you are a beginner just getting started with Sidefx's powerful 3D package, Houdini. Remember, Always be Creating!
00:00 Introduction
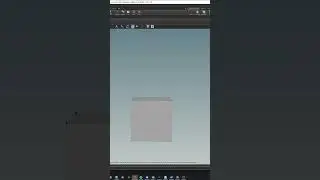
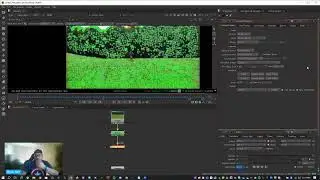
00:25 Setting up the Geometry
2:00 Create the Velocity Forces
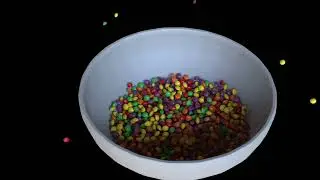
5:30 Configure the RBD
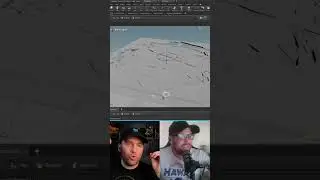
6:15 Setting up the DOP Network
Artgrid: https://artgrid.io/Bryan-125911
Music for Creators: https://www.epidemicsound.com/referra...
ENVATO ELEMENTS: https://elements.envato.com/
My IG: / bryan_holt_media
My Twitter: / bryannholt
My Website: https://www.bryanholt.media
My Gear:
Gear:
Main Camera BMPCC6k: https://www.amazon.com/Blackmagic-Des...
Secondary Camera Canon Rebel SL3: https://www.amazon.com/Canon-Rebel-18...
Main Lens SIGMA 24-70mm Art f2.8 EF: https://www.amazon.com/Sigma-24-70mm-...
Secondary Lens SIGMA 18-35mm f1.8 EF: https://www.amazon.com/18-35mm-Camera...
Back Up Lens Canon 50mm f/1.8 EF: https://www.amazon.com/Canon-50mm-f1-...
Drone DJI Mavic Air 2 Fly More Combo: https://store.dji.com/product/mavic-a...
Gimbal Zhiyun Crane 3s: https://www.amazon.com/Handheld-Stabi...
#vfx #houdini #houdinifx