Advanced Canva Design Techniques: Create Professional & Polished Designs | Canva Basics | Part 4
Welcome back to Get Creative on Canva! In Part 4 of our Canva Basics series, we’re diving into advanced design techniques to help you create polished, professional layouts. You’ll learn how to use grids, alignment tools, layering, transparency, and more to elevate your Canva projects. Perfect for anyone looking to improve their Canva skills and create standout graphics!
📌 In this tutorial, you’ll learn how to:
Use grids to create balanced layouts
Align elements for a professional look
Layer and arrange visuals for depth
Work with transparency for subtle effects
Choose and customize color palettes
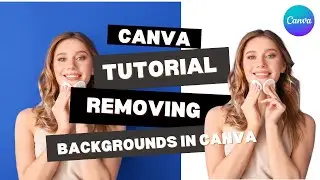
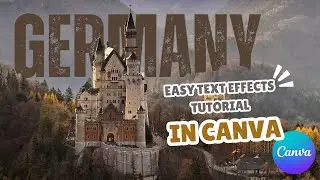
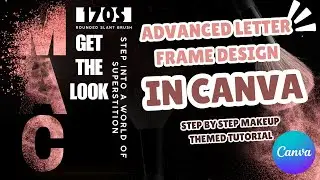
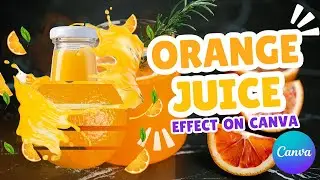
Use advanced text effects and backgrounds
Add animations for dynamic designs
Whether you're designing for social media, presentations, or personal projects, these tips will help your designs stand out. Don’t forget to watch Part 5, where we’ll focus on creating impactful social media posts using all the techniques from our series!
Timestamps: 0:00 Intro
0:23 Using Grids for Layouts
0:57 Alignment Tools
1:30 Working with Layers
2:00 Transparency Tips
2:32 Mastering Color Palettes
3:03 Custom Grids and Frames
3:34 Advanced Text Effects
4:03 Custom Backgrounds
4:40 Adding Animations
5:10 Outro
🔔 Subscribe to @GetCreativeOnCanva for more Canva tips and tutorials!
#CanvaTutorial #AdvancedCanvaDesign #CanvaBasics #ProfessionalDesignTips #DesignInCanva #CanvaForBeginners #CanvaTips #GraphicDesign #ContentCreation #SocialMediaDesign #GetCreativeOnCanva #LearnCanva #DesignWithCanva #CanvaSeries