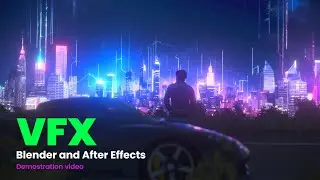
Creating CGI Prank Videos Using Blender and After Effects | Step-by-Step Tutorial
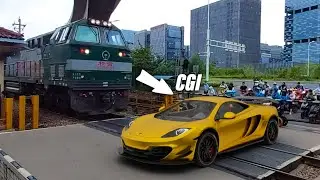
In this video, we delve into the exciting world of creating CGI prank videos using Blender and After Effects. Follow along as we demonstrate each step of the process, from tracking footage to adding 3D elements and integrating them seamlessly into real-world scenes.
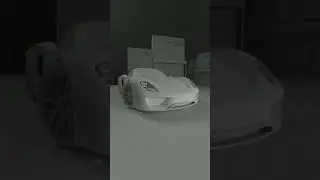
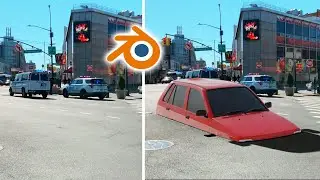
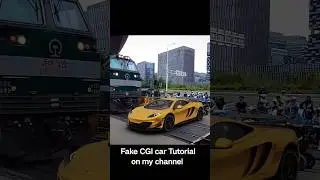
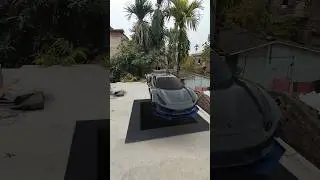
We start by showing you how to track footage using After Effects' 3D Camera Tracker, then seamlessly transfer the camera data to Blender using the AE2Blend addon. Next, we import a free car model from Sketchfab and position it within the scene, adjusting elements like focal length and plane size for a realistic effect.
To enhance the scene further, we add an HDRI environment map to simulate realistic lighting and shadows. We also demonstrate how to adjust the strength and rotation of the HDRI to achieve the desired effect.
Once our scene is set up, we switch from Eevee to Cycles render mode for high-quality output. We enable the 'Shadow Catcher' feature to ensure that the car casts realistic shadows on the ground plane.
After rendering our scene, we bring the footage into After Effects to composite the final result. We import the rendered PNG sequence, arrange the frames, and integrate them seamlessly into the original footage.
Whether you're a beginner or an experienced CGI enthusiast, this tutorial provides valuable insights into the process of creating stunning CGI prank videos. If you found this video helpful, don't forget to like and subscribe for more tutorials. And if you have any questions or suggestions for future videos, feel free to leave them in the comments below. Thanks for watching, and stay tuned for more exciting content!
Instagram : / sporshoart
3D car model : https://sketchfab.com/3d-models/mclar...
HDRI : https://polyhaven.com/a/overcast_soil
Footage : https://www.pexels.com/video/people-w...
#cgi #blende3d #aftereffects


![Master ICT's PO3[AMD] for Consistent 1:10RR Trades!](https://images.videosashka.com/watch/sSxw5qSABuc)