Crochet Shrug - In-depth Tutorial - FREE Pattern XS/S/M/L/XL/XXL
Here's another in-depth tutorial! I did my best to make sure everyone can have their own Perplex Shrug ✨
Everything about yarn, hook, sizes... is all clearly presented & instructed in the video. So, make sure you don't miss a thing ;)
🛍️ Buy PDF Written Patterns: https://linktr.ee/aboc.studio
This Crochet Perplex Shrug is an original ABoC Studio's design. The pattern was written with love & care by me, Natalie. Feel free to share the pattern, and sell your final hand-crafted product. In all cases, make sure you credit ABoC Studio. Thank you 🤍
✧ Are you an Absolute Beginner?
Even though this is an easy pattern, it combines a variety of techniques & methods which could prove to be overwhelming to an absolute beginner. Therefore, I suggest you to start with 1 or 2 simpler projects:
• Crochet Skirt: • Crochet Skirt - In-depth Tutorial for...
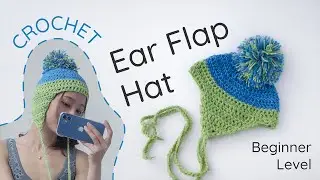
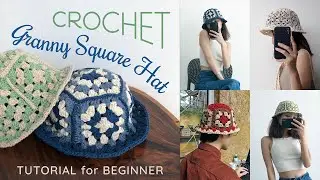
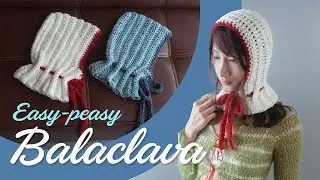
• Crochet Ear Flap Hat: • Crochet Ear Flap Hat - In-depth Tutor...
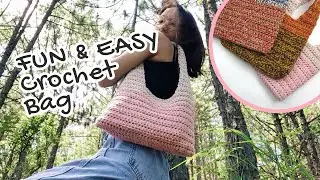
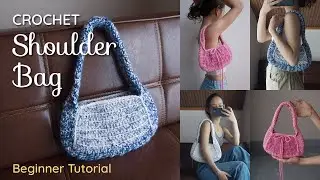
• EASY Crochet Bag: • EASY Crochet Bag - In-depth Tutorial ...
This bag tutorial includes some important techniques. However, you should also practice a little more with a project that makes use of mostly Double Crochet, such as:
• Crochet Bikini: • Crochet Summer Top & Bottom - In-dept...
• Crochet Corset Top: • Crochet Corset Top - In-depth Tutoria...
✧ Why a Loose Chain?
The foundation chain normally turns out to be stiffer than the stitch rows. Hence, while Dc rows have an incredible degree of stretch, we need to take advantage of this stretchiness by adding more space/loosening up our chain loops (not letting the stiff chain take away our stretchy privilege 😉). It may looks & feels a bit wonky at first. But don’t worry, the stitches will pick it all up later on, when we crochet at the foot of the chain!
✧ Why LU2C:
Traditionally, we would chain 2 for Dc and chain 3 Tr at the beginning of a row (count as 1st stitch). LU2C is an alternative/more efficient method (developed by ABoC Studio), to avoid the struggle of inserting your hook into the tight chain loop for the row’s last stitch. Moreover, LU2C will create cleaner & neater edges for a swatch/flat surface of Dc or Tr.
✧ How to Adjust and Improvise the Pattern:
Instead of following the pattern’s size guide, it is recommended to study ONLY the techniques & methods shown in the video to crochet the Shrug, while figuring out the right number of chains, number of rows, and number of decreasing stitches.
The structure of this design is built in the following order:
1. Shoulder (3 first rows) – back/bridge (rows between shoulders) – offset chain & the other shoulder – bind off
2. Attach yarn for ties – triangle flap – chain string – bind off – repeat on the other side
3. Add armpit chain – join round – upper sleeve – lower sleeve – hand detail/thumb hole – last rows & edging – bind off - repeat on the other side.
NOTE:
The scale of back/bridge flap ties depends on the number of the foundation chains. Please keep in mind that the foundation chain also affects the scale/width of the sleeves.
There is no need to save much fabric for the shoulders. I find 3 rows (~2 inches) work well for all sizes’ shoulders.
Please check back/bridge piece’s stretchiness for the perfect fit.
When attaching yarn to make the flap tie, make sure you leave some stitches/space between the bridge and the flap (this space is part of the neck-line).
The number of the armpit chain affects the sleeve’ scale.
✧ Weaving the Ends/Tails the right way
Please watch from 48:00 in this video:
• Crochet Ear Flap Hat - In-depth Tutor...
FOLLOW ME
• Instagram: / aboc.studio
• Pinterest: / abocstudio
✨ Did you know you can support me with Super Thanks? It is a "THANKS" button shows a little heart with a money sign symbol below the video's title! Feel free to check it out if you feel like. Your support will keep ABoC Studio channel lives long and prosper 🖖💗
See you next time, muaaah 💋