Step By Step Instructions to Configuring Visual Studio 2022 and SSDT for SQL Server 2022
SQL Server Data Tools (SSDT) is a modern development tool for building SQL Server relational databases, databases in Azure SQL, Analysis Services (AS) data models, Integration Services (IS) packages, and Reporting Services (RS) reports. With SSDT, you can design and deploy any SQL Server content type with the same ease as you would develop an application in Visual Studio. SSDT is available as a workload component with Visual Studio. Additional functionality for developing AS, IS, and RS projects is available as Visual Studio extensions for installation in addition to the SSDT workload.
Visual Studio Community Edition is a free, fully-featured version of Visual Studio that is available for individual developers, open-source projects, academic research, education, and small professional teams. It provides a comprehensive development environment for creating applications for Windows, Android, iOS, and the web.
In this video, I'll guide you through a detailed, step-by-step procedure for installing Visual Studio Community Edition and SQL Server Data Tools. These tools are essential for creating ETL (Extract, Transform, Load) packages.
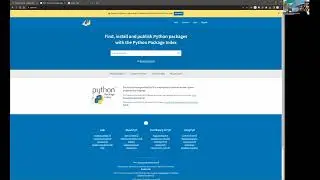
1. Download and install Visual Studio 2022 from the official website ¹.
2. Launch the Visual Studio Installer and select the edition of Visual Studio that you want to add SSDT to, then choose Modify .
3. Select SQL Server Data Tools under Data storage and processing in the list of workloads .
4. Install the appropriate extensions from within Visual Studio with Extensions Manage Extensions or from the Marketplace for Analysis Services, Integration Services, or Reporting Services projects.
5. Download and install SQL Server 2022 from the official website.
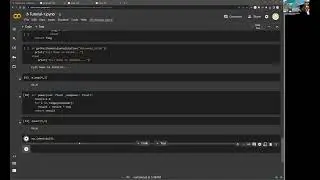
6. Open Visual Studio 2022 and create a new project.
7. Select SQL Server under Installed Templates Other Languages SQL Server.
8. Choose a project name and location, then click Create
9. In Solution Explorer, right-click on the project name and select Add New Item.
10. Select SQL Server under Installed Templates Other Languages SQL Server, then choose Table.
11. Choose a table name and click Add.
12. In the table designer, add columns to your table by right-clicking on the design surface and selecting Add Column.
13. Save your changes by clicking Save All in the File menu

![[FREE] SLIMESITO x BEEZYB TYPE BEAT 2022 -](https://images.videosashka.com/watch/1EoTITwenvE)