5 Simple Steps to Add Markers in Premiere Pro Boost Your Editing Skills!
Unlock the power of Adobe Premiere Pro with our easy-to-follow guide on how to add markers to your clips! Whether you’re a beginner or looking to sharpen your editing skills, these 5 simple steps will help you efficiently navigate and organize your projects.
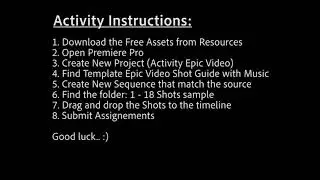
In this video, you’ll learn how to:
1. Open your project and select the desired clip.
2. Play your clip in the Source Monitor to find the perfect moment.
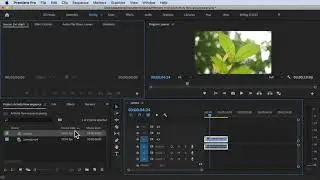
3. Add markers with a simple keyboard shortcut.
4. Customize your markers to keep your editing organized.
5. Navigate between markers quickly to streamline your workflow.
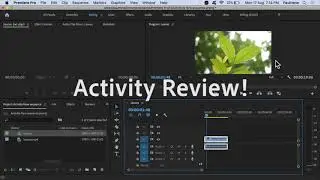
Why Use Markers?
Markers are essential tools for any video editor. They help you keep track of important moments, categorize scenes, and navigate your timeline more effectively.
Join us and discover how easy it is to enhance your editing process with Premiere Pro. Don't forget to like, comment, and subscribe for more video editing tips!


![[FREE 10-hour Full Course] ChatGPT Prompts Mastery: 50,000+ Prompts | 20-in-1 Online Course](https://images.videosashka.com/watch/Z31NfTpzDV4)