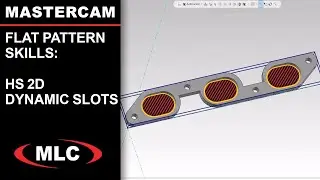
High Speed 2D Dynamic Milling Slots - Flat Pattern Skills
Get more helpful information at https://www.mlc-cad.com/mastercam/
Learn how to set up a high-speed milling operation in Mastercam. It focuses on creating a toolpath for milling three pockets using a 2D high speed dynamic mill toolpath, a preferred method for material removal. The narrator details selecting machining regions, setting up the tool with a half-inch flat end mill, adjusting cut parameters like stepover and stock to leave, and finalizing with entry motion and z clearance settings. The approach is tailored for parts that will undergo post-machining processes like shot peening, tumbling, and powder coating, where surface finish is not a priority.
00:00 Introduction to Mastercam Mill Setup
00:23 Starting with 3D Pockets: Toolpath Selection and Setup
01:22 Diving Deeper: Machining Parameters and Tool Selection
02:28 Finalizing the Dynamic Mill Toolpath
Watch the entire event playlist:
Import DXF Flat Patterns - • How to Import and Organize DXF Flat P...
Create Contour Toolpath for Laser/Waterjet/Plasma - • Creating a Contour Toolpath for Laser...
Rechain Toolpaths for Additional Parts - • How to Re-Chain and Re-Use a Toolpath...
How to Nest Flat Parts - • Nesting Flat Parts in Mastercam | Fla...
How to Align Imported Models - • How to Align Imported Parts - Flat Pa...
Cut slots with 2D Dynamic Toolpath - • High Speed 2D Dynamic Milling Slots -...
Arc Filtering & Dynamic Toolpaths - • How to Use Arc Filtering with High Sp...
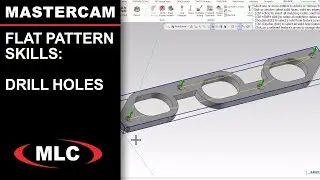
Program Hole Drilling Operations - • How to Drill Holes with Mastercam - F...
Cut out Parts with Tabs - • Cut Out Flat Parts with Tabs using Co...
How to Nest Toolpath Clusters - • Nesting Toolpath Clusters - Mastercam...
#CNC #Mastercam