Underground Storm Shelter Installation - Step-By-Step Video of Tornado Shelter Install Process
Purchasing an underground storm shelter is an important investment that will keep your family safe from tornadoes.
Half the battle is deciding what type of storm shelter is right for you and your family. Make sure to do your homework when deciding between a safe room or an underground tornado shelter. If you choose an underground storm shelter, scheduling the installation of your storm shelter is the next step.
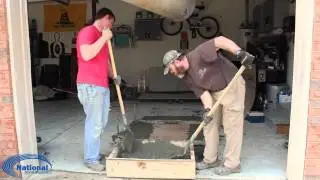
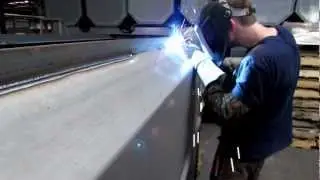
At National Storm Shelters, our underground tornado shelter installation process takes about six to eight hours to complete. Our experienced and professional installation crew follows a strict plan to ensure that each underground shelter is safely secured in the floor of your garage.
Curious about how the underground shelter installation process works? Continue reading our step-by-step underground shelter installation overview below.
Underground Shelter Installation Step 1: Measure and cut concrete installation area
Underground Shelter Installation Step 2: Finalize grid template for excavation
Underground Shelter Installation Step 3: Prep the excavation area by hosing off excess concrete dust from cutting
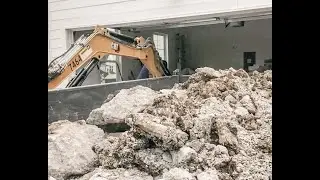
Underground Shelter Installation Step 4: Excavate top layer of slab
Underground Shelter Installation Step 5: Excavate earth
Underground Shelter Installation Step 6: Lower shelter and fit into place
Underground Shelter Installation Step 7: Backfill with concrete to ensure a solid foundation.
Underground Shelter Installation Step 8: Smooth and set
Underground Shelter Installation Step 9: Clean and haul away dirt
For more information about our installation process or to take a tour of an underground shelter, give us a call at 615.223.7233.
Visit our website and blog for storm shelter and emergency preparedness information at http://www.nationalstormshelters.com