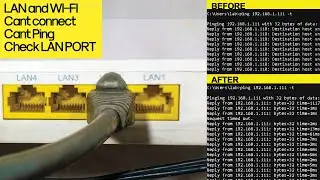
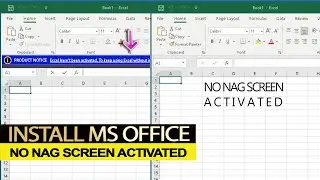
Install ESP8266 USB Driver and Pin GPIO Diagram
The ESP8266 is a low-cost Wi-Fi microchip, with built-in TCPIP networking software, and microcontroller capability, produced by Espressif Systems
00:00 Select board, not active
Tick NodeMCU 1.0
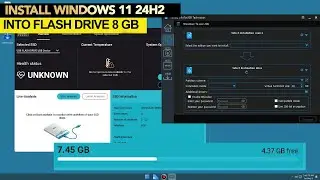
00:18 Install ESP8266 from Board Manager
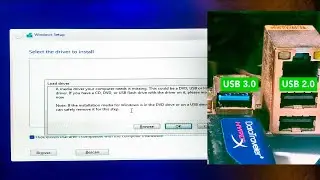
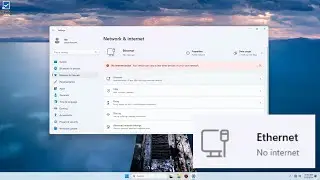
00:36 Download USB Driver ESP8266
01:20 Active board ESP8266 and COM port
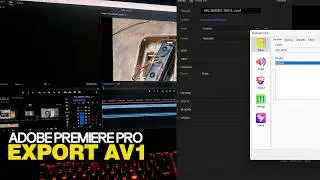
01:47 Upload Program
02:10 Learn PIN GPIO ESP8266
02:30 Arduino PIN to GPIO NodeMCU ESP8266
Please look reference diagram board, ESP8266 using GPIO Pin Number, different between program and label pin on board.
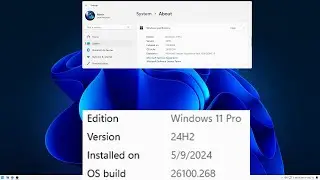
03:06 Test Board ESP8266 after reconfiguration to NodeMCU
The chip first came to the attention of Western makers in August 2014 with the ESP-01 module, made by a third-party manufacturer Ai-Thinker.
Start Arduino and open Preferences window.
Manager URLs field. You can add multiple URLs, separating them with commas.
Open Boards Manager from Tools - Board menu and find esp8266 platform.
Select the version you need from a drop-down box.
Click install button.
Don’t forget to select your ESP8266 board from Tools - Board menu after installation.
The ESP8266 12-E chip comes with 17 GPIO pins. Not all GPIOs are exposed in all ESP8266 development boards, some GPIOs are not recommended to use, and others have very specific functions.
With this guide, you’ll learn how to properly use the ESP8266 GPIOs and avoid hours of frustration by using the most suitable pins for your projects.
Reference
PIN Diagram
NodeMCU ESP8266
https://randomnerdtutorials.com/esp82...
Web Base control NodeMCU Esp8266 with Browser and WIFI
https://randomnerdtutorials.com/esp82...
OLED on Esp8266
https://randomnerdtutorials.com/esp32...