Arduino interface with BO Motor Tinkercad
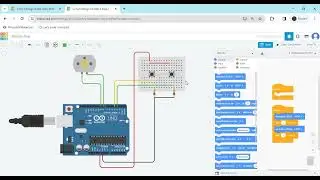
Creating an Arduino interface with a DC (brushed) motor in Tinkercad is a fantastic way to learn about motor control. Here's a step-by-step guide to setting it up:
Poject Link - https://www.tinkercad.com/things/7U07...
Components Needed:
Arduino board (e.g., Arduino Uno)
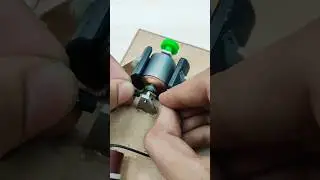
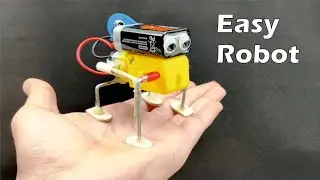
DC motor (BO motor)
Motor driver l293d IC
Jumper wires
Breadboard (optional)
Steps:
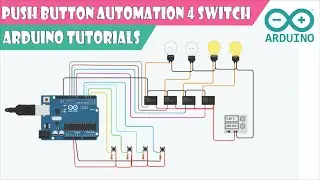
Set Up the Circuit:
Open Tinkercad and create a new circuit.
Place the Arduino board, DC motor, and motor driver module on the workspace.
Connect the power supply (battery) to the motor driver module. The motor driver module should have input terminals for power (usually labeled as VCC or +) and ground (usually labeled as GND or -).
Connect the output terminals of the motor driver module to the DC motor. The motor driver module has output terminals for two motors, typically labeled as OUT1/OUT2 and OUT3/OUT4.
Connect the control pins of the motor driver module to the Arduino. The motor driver module typically has control pins for each motor, including input pins for direction (e.g., IN1, IN2 for one motor) and speed (e.g., ENA for one motor).
arduino,dc motor,arduino tutorial,motor,arduino motor driver,arduino motor control,gear motor,l298n motor driver,dc motor with arduino,arduino gear motor interface,arduino dc motor control,motor driver,l298n motor driver arduino,l293d motor driver arduino,arduino uno,motor driver module,arduino project,arduino robot,arduino cheap motor,gear,geared motor,arduino stepper motor,arduino servo motor,arduino dc motors,dc geared motor
#motor #arduino #diy #electronic #diyrobotics
Instagram - https://www.instagram.com/eazytronic3...
Facebook -
Linkedin
Thanks for watching