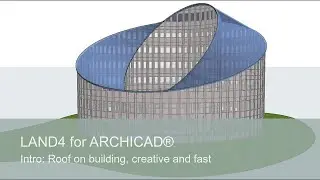
Creating roof on round building | LAND4 for ARCHICAD®
This video shows you how to create the roof of a building in a couple of minutes using ARCHICAD and LAND4 software and tools.
The design process starts with two concentric circles, each having a different radius – and by establishing the top height and the bottom height of each line of the roof (inner and outer).
In the next step, once we have the fall percentage between these Spot Levels, and with the help of the Constant Gradient Interpolation tool, 3D points are generated along the lines.
These Spot Levels will be used to generate the roof surface. Once enough Spot Levels have been placed, they can be added/attached to the existing 2D lines transforming them into 3D lines or Ridge Lines.
In the next part of the video, the surface of the roof is modelled with a simple mouse-click, using the Magic Wand.
Once the roof is modelled, and going into the last part of the video, the walls of the building can be cut at the exact level where they meet the roof. This procedure is done by using Solid Element Operation tool in ARCHICAD, where the walls are set as Targets and the roof is set as Operator, under the operation of Substraction with Upward Extrusion.
And that was it. - A super-efficient and creative way to create a roof in ARCHICAD!
---
DOWNLOADS
To download LAND4 for use with ARCHICAD, go to: https://visit.land4cad.com/download
LAND4 KNOWLEDGE BASE
At https://visit.land4cad.com/support, you can find our LAND4 knowledge base holding articles, more video tutorials and answers to frequently asked questions. Content will be added continually.