how to install tailwind css | tailwind css
Tailwind CSS is basically a Utility first CSS framework for building rapid custom UI. It is a highly customizable, low-level CSS framework that gives you all of the building blocks that you need. Also, it is a cool way to write inline styling and achieve an awesome interface without writing a single line of your own CSS.
If you want to install this powerful CSS framework, you should do this :
1. Install node.js. you can download it from here :
✅ node.js installation link : https://nodejs.org/en/download/
2. Check that node.js and npm have installed correctly. for do this you should open your CMD and write " node -v " for checking node.js and write " npm -v" for checking npm.
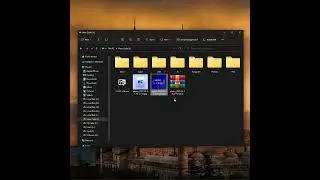
3. Open your code editor and choose your folder.
4. Open terminal on that directory.
5. Type " npm init -y"
6. After that you can Install tailwind css package with this command :
" npm install -D tailwindcss "
7. After it installed completely, type " npx tailwindcss init " to create tailwind css config file.
8. Link you Html and Js file in config file in content part like this :
module.exports = {
content: ["./src/**/*.{html,js}"],
theme: {
extend: {},
},
plugins: [],
}
9. Create your css file with any name you want and copy this code to it :
@tailwind base;
@tailwind components;
@tailwind utilities;
10. open " package.json" file and paste this code in script block :
" npx tailwindcss -i ./src/input.css -o ./dist/output.css --watch "
(with this code you actually rebuild you tailwind css code to a readable css code for browser)
11. Tailwind css install completely and you can use this powerful framork now.
how to install tailwind css | tailwind css
🔎 hashtags :
#programming
#tailwindcss