EASY PEASY Cartoon Look in PHOTOSHOP
Please follow me on Instagram:
/ anthonymorganti
Checkout my Recommended Gear List:
https://www.amazon.com/shop/anthonymo...
If you're interested in Photoshop, Lightroom, Adobe Stock, and the Creative Cloud, you can find more info here:
http://bit.ly/2zwQ0nW
I use this software to record my screen:
https://telestream.pxf.io/DMrW2
Unsure of how to price your photography? Check the 2019 Guide to Pricing Your Photography:
https://amzn.to/2S1CiU7
All links above are my affiliate links. Please read my code of ethics statement for more info about my affiliations:
https://onlinephotographytraining.com...
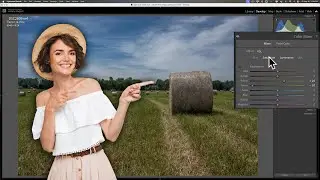
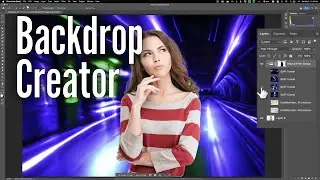
In this tutorial, I demonstrate the easiest way to create a cartoon, comic book look, to an image. One nice feature of this method is that it, along the various steps, gives intermediary results that you may like.
Steps & Keyboard Shortcuts
1.) Duplicate Layer - CTRL/CMD - J
2.) Add High Pass Sharpening — enough to bring out edges — avoid haloing and exaggerating skin pores.
3.) Duplicate Layer - CTRL/CMD - J
4.) Invert Layer - CTRL/CMD - I
5.) Change Blend Mode of the top layer to DIVIDE
6.) Merge top two layers by selecting them both (CTRL/CMD - Click on each), then hitting CTRL/CMD - E
7.) Add a Levels Adjustment to the top layer — CTRL/CMD - L
8.) Click on the bottom, background layer and duplicate it - CTRL/CMD - J
9.) Drag that duplicated background layer to the top of the layer stack.
10. ) Add Gaussian Blur to that layer. I’ve found that a similar pixel radius that was used for high pass sharpening, works well here.
11.) Change the blend mode of the top layer to a blend mode in the forth section from the top. In the video I used “Pin Light”.
Alternate Method (One step shorter, similar results)
1.) Duplicate Layer - CTRL/CMD - J
2.) Add High Pass Sharpening — enough to bring out edges — avoid haloing and exaggerating skin pores.
3.) Duplicate Layer - CTRL/CMD - J
4.) Change Blend Mode of the top layer to “Color Dodge”.
5.) Merge top two layers by selecting them both (CTRL/CMD - Click on each), then hitting CTRL/CMD - E
6.) Add a Levels Adjustment to the top layer — CTRL/CMD - L
7.) Click on the bottom, background layer and duplicate it - CTRL/CMD - J
8.) Drag that duplicated background layer to the top of the layer stack.
9. ) Add Gaussian Blur to that layer. I’ve found that a similar pixel radius that was used for high pass sharpening, works well here.
10.) Change the blend mode of the top layer to a blend mode in the forth section from the top. In the video I used “Pin Light”.
THANK YOU for watching!