Lords Mobile прохождение Прошлое Таркуса 5 этап
00:00:00
2023!
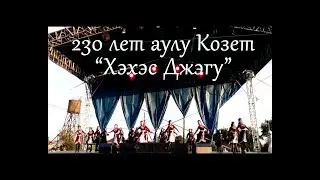
230 лет аулу Козет - Хэхэс Джэгу - Студия кавказских танцев "Нарт"
"Кино для женского счастья" на СТС
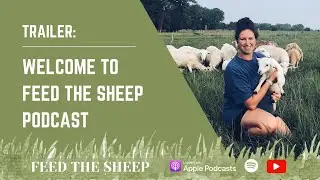
Trailer: Welcome to Feed the Sheep Podcast
VCU ASU DANCE TEAM "LFDA" - BRUHH Afrobeat remix (2016)
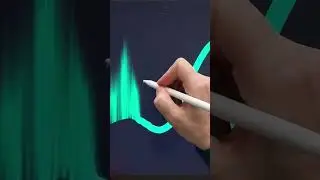
Create easy Northern lights inside Procreate
00:01:04
SEGA - Sparta Remix V2