Make a Cheese Board with Epoxy Resin | How To | DIY
Learn how to make your own DIY Cheese Board with a sweet ocean style design with Epoxy Resin
As always, if you found this video help, please hit the like button and be sure to subscribe to see all future beginner and DIY woodworking content.
#epoxy #woodworking #cheeseboard
---
As an Amazon Associate I earn from qualifying purchases.
VIDEO PRODUCTS //
TotalBoat Epoxy Kit: https://amzn.to/2J2GLTz
Heat Gun: https://amzn.to/3dl5hx2
Rasp: https://amzn.to/2Urueyb
Dremel: https://amzn.to/2Qyi0T5
Jointer: https://amzn.to/2WxQ1Xz
Planer: https://amzn.to/3diwIrf
Jigsaw: https://amzn.to/32XRN5w
MY FILMING GEAR //
Camera (Cannon M50 Mirrorless): https://amzn.to/2Qh4xj5
Blue Yeti Nano USB Microphone: https://amzn.to/39xUBJq
Tripod: https://amzn.to/2QCdzpR
Camera Slider: https://amzn.to/36fws8p
Rode Microphone: https://amzn.to/39s6vVr
FOLLOW //
Instagram: / casualbuilds
Facebook: / casualbuilds
Website: https://www.casualbuilds.com
---
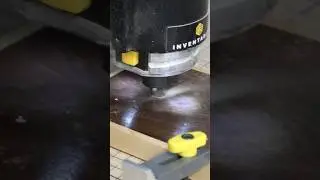
I made this cheese board from one scrap piece of walnut that I had laying around my workshop. I've seen some variations of epoxy resin pours where it resembled and ocean wave crashing so I wanted to try my hand at it. Making the cheese board was a fairly straightforward process. I started off by milling the piece of walnut down to get rid of the cup/bow and ensure it was able to lay flat on a table. Next, I used a pencil and marked out the design of the handle, this was the fun part - get creative here!
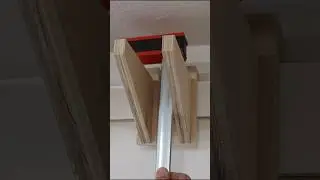
After that, I took the board over to the bandsaw and cut out the design. Feel free to use a jigsaw or some hand tools for this as well, whatever gets the job done! Next, it was time for sanding and I used a few tools for that. I rounded over the edges too with a roundover bit on my router.
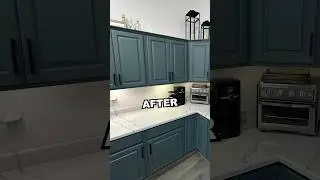
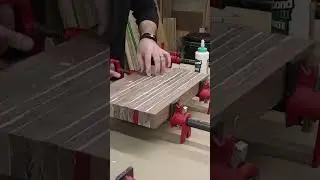
The epoxy pour was stressful, but I ended up mixing together 3 different cups, dark blue, a lighter blue, and white. After it was done curing, I came back and sanding everything down and put on a few coats of mineral oil.