How to Create Golden Hour in Photoshop Tutorial 2022
Download tutorial assets here: https://www.nucly.com/create-golden-h...
Get my pack of sunset skies here: https://nucly.mysamcart.com/checkout/...
Golden Hour in photography and art refers to the hour before sunset or the hour after sunrise, where the sun is lowest to the horizon and usually more orange in color (golden). This lighting makes for a very attractive look and in this tutorial, I’m going to show you how to create the golden hour look using tools and techniques in Photoshop. In this course, we’ll also cover the Sky Replacement tool, masks, color balance, curves and more.
00:01 – Introduction
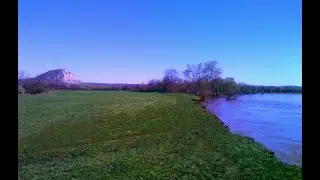
00:59 – Project One: Landscape
02:12 – Sky Replacement
07:10 – Sky Replacement layers
08:29 – Adjusting the Sky
09:19 – Adjusting the foreground
15:24 – Color balance
16:27 – Adding a flare
17:52 – A little bit of atmosphere
19:02 – Overall vignette
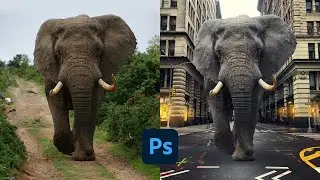
20:49 – Project Two: Cityscape
21:47 – Another Sky Replacement!
24:23 – Image adjustments
26:26 – Mask-specific adjustments
32:21 – Final vignette
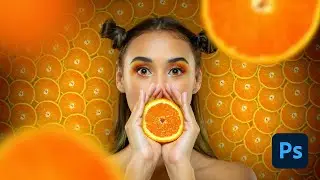
33:36 – Project Three: Portrait
34:02 – Replacing a sky manually
36:58 – Blending the sky
38:46 – Camera RAW
42:40 – Adding a flair
44:21 – Conclusion
You can find my full set of lens flares here: https://nucly.mysamcart.com/checkout/...
And my pack of sunset skies here: https://nucly.mysamcart.com/checkout/...
—
Don’t forget to SUBSCRIBE and turn on notifications! And likes and shares help a lot too!
Check out my full professional Photoshop training courses here: https://www.nucly.com/courses
And all my asset packs here: https://www.nucly.com/tools
—
Follow me:
Professional Training - https://www.nucly.com
Blog - https://zevendesign.com
Facebook - / zevendesign
Instagram - / zevendesign
500px - https://500px.com/rikardrodin