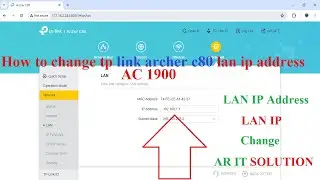
How to change tp link archer c6 lan ip
🌐 Taking Control of Your Network: Learn How to Change TP-Link Archer C6 LAN IP! 🌐
Do you need to customize your TP-Link Archer C6 router's LAN IP address to better suit your network configuration? Look no further! In this easy-to-follow tutorial, we'll guide you through the process of changing the LAN IP address on your TP-Link Archer C6 router, empowering you to tailor your network settings according to your specific needs.
📝 Timestamps:
0:00 - Introduction: Understanding the importance of customizing LAN IP address for network optimization.
0:45 - Accessing Router Settings: Learn how to log in to your TP-Link Archer C6 router's admin panel.
1:30 - Navigating to LAN IP Settings: Locate the LAN IP configuration section within the router's interface.
2:15 - Changing the LAN IP Address: Step-by-step instructions to modify the LAN IP address securely.
3:00 - Subnet Mask and DHCP Settings: Understanding additional settings related to LAN IP configuration.
3:30 - Confirming Changes: Ensuring that the new LAN IP address is successfully applied.
4:00 - Testing Connectivity: Verifying network connectivity after changing the LAN IP address.
4:30 - Conclusion: Recap of the benefits of customizing LAN IP address for network management.
🔗 Helpful Resources:
TP-Link Support Page: Explore TP-Link's support resources for additional assistance and troubleshooting.
TP-Link Archer C6 User Manual: Refer to the official user manual for detailed instructions and configuration options.
🎥 Subscribe to [AR IT SOLUTION] for more tech tutorials and networking tips to streamline your digital experience!
👍 Don't forget to Like, Share, and Comment if you found this tutorial helpful or have any questions!
#TPLink #ArcherC6 #LANIP #NetworkConfiguration #TechTutorial #NetworkManagement #RouterSettings


