Getting Started with Adafruit IO: Control Led with Esp8266 NodeMCU
Welcome to our tutorial on getting started with Adafruit IO! In this video, we'll show you how to control LED lights with an ESP8266 NodeMCU and Adafruit IO. We'll be using the digital pins D0 and D5 on the NodeMCU to connect two LED lights and control them remotely with Adafruit IO.
We'll start by setting up our Adafruit IO account and creating a new dashboard for our LED control. Then, we'll walk you through the process of connecting the ESP8266 NodeMCU to the internet and configuring it to communicate with Adafruit IO.
Once we have everything set up, we'll show you how to use Adafruit IO to turn the LED lights on and off remotely from anywhere with an internet connection. We'll also demonstrate how to use Adafruit IO to monitor the status of the LED lights and receive notifications when they are turned on or off.
This tutorial is perfect for anyone who is new to Adafruit IO or wants to learn how to control LED lights with an ESP8266 NodeMCU. No prior experience is required, and we'll provide step-by-step instructions to make the process as easy as possible.
So, grab your ESP8266 NodeMCU, connect your LED lights to D0 and D5, and let's get started with Adafruit IO!
#adafruit #esp8266 #nodemcu
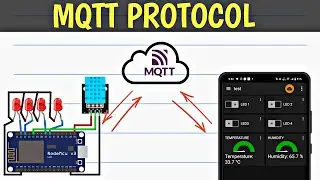
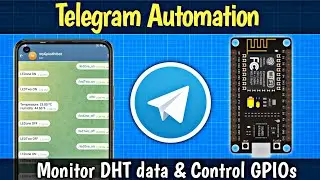
Previous video /Blynk IOT with DHT11 : • Blynk ioT | Temperature and Humidity...
Blynk Setup With EEPROM: • How to read-write EEPROM of NodeMCU |...
ChatGPT vs ESP32s : • How to read-write EEPROM of NodeMCU |...
| TFK | Getting Started with Adafruit IO |
Esp8266 Nodemcu AccessPoint: • Esp8266 NodeMCU Wifi Access Point | E...
Esp8266 NodeMCu MultiWifi: • Programming the ESP8266 Multi WiFi | ...
Connect Esp8266 NodeMCU to Wifi Network: • Connect Esp8266 NodeMCU to Wifi Netwo...
Upload Code Using Android: • How to Program Arduino / Esp8266 with...
Automatic Water Planting: • Automatic Plant Watering System using...
NodeMCU WebSERVER: • ESP8266 Web Server using SPIFFS | Web...
SETUP New Blynk Mobile: • Getting Started With New Blynk IOT A...
Background Music: • No Copyright Music Cyber Attack E...