How to Install Gradle on Windows 11
Are you looking to install Gradle on Windows 11 and build a Spring Boot application? Look no further! In this comprehensive video, we will guide you through the entire process, step by step.
First, we'll verify your Java installation by checking the version. If you don't have Java installed, we have a separate video on installing it on Windows 11, so make sure to check that out and come back to complete the Gradle installation.
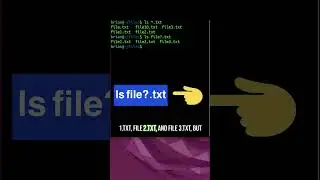
There are several ways to install Gradle, including using package managers like Chocolately or tools like SDKman. In this video, we'll demonstrate the manual installation process. We'll search for the latest Gradle version, click on the official installation link, and download the binary file. Don't worry if the version has changed by the time you watch this video; simply choose the latest version available.
To ensure the integrity of the downloaded file, we'll also verify the SHA256 checksum. We'll show you how to compare the server's checksum with the one computed locally, giving you confidence that the file was not corrupted during download.
After verifying the file, we'll proceed with the installation. We'll extract the downloaded zip file into a designated directory and add the location of the "bin" directory to our system's path. This step ensures that Gradle can be accessed from anywhere on your Windows 11 system.
Once the installation is complete, we'll open a new command prompt and verify the Gradle installation by running a simple command. You'll see the version of Gradle you installed, confirming a successful installation.
But wait, there's more! We'll take it a step further and demonstrate how to build a Spring Boot application using Gradle. We'll generate a simple Spring Boot project using the start.spring.io website, adding the necessary dependencies for a web application.
After downloading the project, we'll navigate to the project directory and explore the generated code. We'll introduce you to the essential "build.gradle" file, which defines the project's settings, dependencies, and tasks.
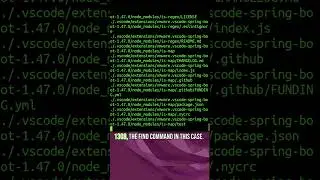
To demonstrate the power of Gradle, we'll run the "gradle tasks" command, showcasing the available tasks for your project. We'll focus on the important "build" task, which assembles and builds your project.
Once the code is compiled and tested, we'll package the application as an executable JAR file using the built-in "bootJar" task provided by the Spring Boot Gradle plugin. This task packages your application and its dependencies into a standalone, runnable JAR file.
After executing the task, we'll explore the resulting files and directories, including the executable JAR file. We'll demonstrate how to run the application from the command line using the "java -jar" command, and you'll see the web application startup on the default port.
#gradle #java #springboot