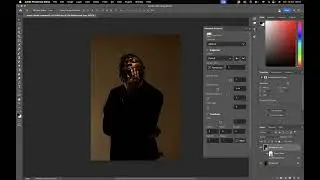
Beams of light - Adobe Photoshop
Beams of light - Adobe Photoshop
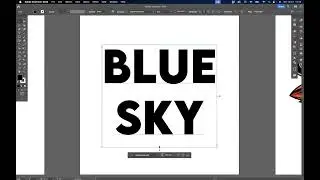
Online Graphic Design School
Mastering Adobe Photoshop
Adobe Photoshop is an incredibly powerful editing and graphics design tool, used by professionals across a variety of industries. It has become the industry standard for image manipulation and graphic design, but learning to use all its features can be intimidating. Thankfully, mastering Adobe Photoshop doesn’t have to be a challenge; with the right techniques, anyone can learn how to create stunning visuals in no time. In this article, we will discuss various strategies for mastering this complex software package.
Introduction: What is Photoshop?
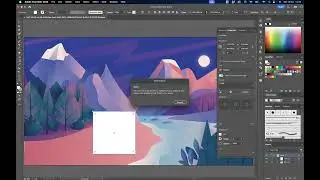
Photoshop is one of the most popular and powerful photo editing software on the market. It has been used by a variety of professionals in different industries for decades, ranging from graphic designers to photographers and animators. Photoshop offers an array of tools and options that allow users to manipulate digital images in various ways, from basic cropping and colour adjustments to more advanced techniques like creating composite photos or 3D models.
Adobe Photoshop also provides users with a wide range of brushes, filters, layers, text effects, shapes, vector art and more for further customisation. With its powerful capabilities and flexibility, learning how to use Photoshop can be an invaluable skill for anyone interested in digital art or photography.
Step 1: Setting up
The first step in mastering Adobe Photoshop is setting up. This involves selecting a workspace, configuring basic preferences and ensuring that the correct tools are installed.
Begin by selecting a workspace with the right combination of panels, toolbars and menus for your needs. For most users, Adobe's default set-up will be sufficient. If you want to customise your experience further, select Window - Workspace - New Workspace and choose from one of the presets or create a new one from scratch.
Next, configure your Preferences found under Edit - Preferences on Windows and Photoshop - Preferences on Macs. Here you can specify settings related to Interface, Performance, Cursors and many other features that can help streamline your workflow. Be sure to experiment with different preferences to find what works best for you as an individual user.
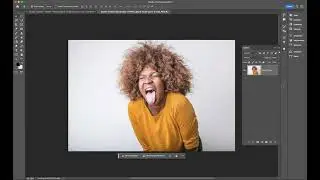
Step 2: Tools & interface
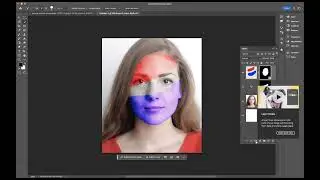
The second step to mastering Adobe Photoshop is familiarising yourself with the tools and interface. The tools in Photoshop are used to create, enhance, retouch, and modify photos. Each tool has a specific purpose; for example, the Brush Tool can be used to paint or add texture effects in an image.
The interface of Adobe Photoshop includes panels that provide access to various settings and control elements such as colour swatches, layers, brushes, etc. While some features may seem overwhelming at first glance, they become more manageable once you understand what each one does and how it affects your images.
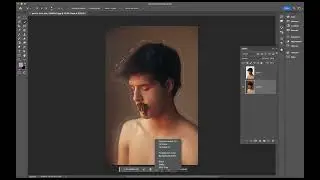
Step 3: Basic editing
Step 3 of mastering Adobe Photoshop is basic editing. With the use of the tools such as layers, selection tools, brushes, and healing tools users can make quick changes to images. They can also use different adjustments to alter contrast, brightness, and hue. Additionally, users can use transform tools to resize or rotate images as needed. For more advanced features, users can employ filters like Gaussian blur and sharpening for dramatic effects on their image. Finally, with a few clicks of the mouse they can crop an image for a particular size or shape.
Once all edits are complete save your work in various formats such as JPEGs and TIFFs so you have multiple copies of your edited images in case you ever need them again.
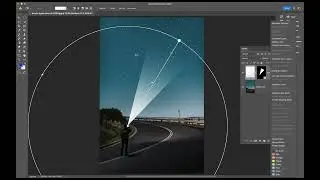
Step 4: Advanced features
Adobe Photoshop offers a wide range of advanced features to take your creative projects to the next level. Step 4 is specifically focused on maximizing these options.
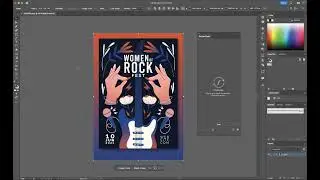
One of the most powerful tools Adobe Photoshop has to offer are layers. Layers allow you to combine multiple images and adjust them independently, creating depth and texture in your work that would otherwise not be possible. You can also use blending modes for each layer, allowing you to further customise the image's appearance.
Advanced selection tools help refine the selection process when working with complex objects or shapes within an image. With more detailed control over what parts of an image are selected, users can apply effects selectively without having to manually draw a mask around each area of interest.
Step 5: Colour management
Colour management is a key step in mastering the use of Adobe Photoshop. Colour management ensures that all the colours you choose, no matter the source, are accurately represented on your computer screen and when printed. This is especially important for any graphics professionals working with clients who need to be able to trust that their images will look exactly as it does on their screen.
VISIT US https://blueskygraphics.co.uk/